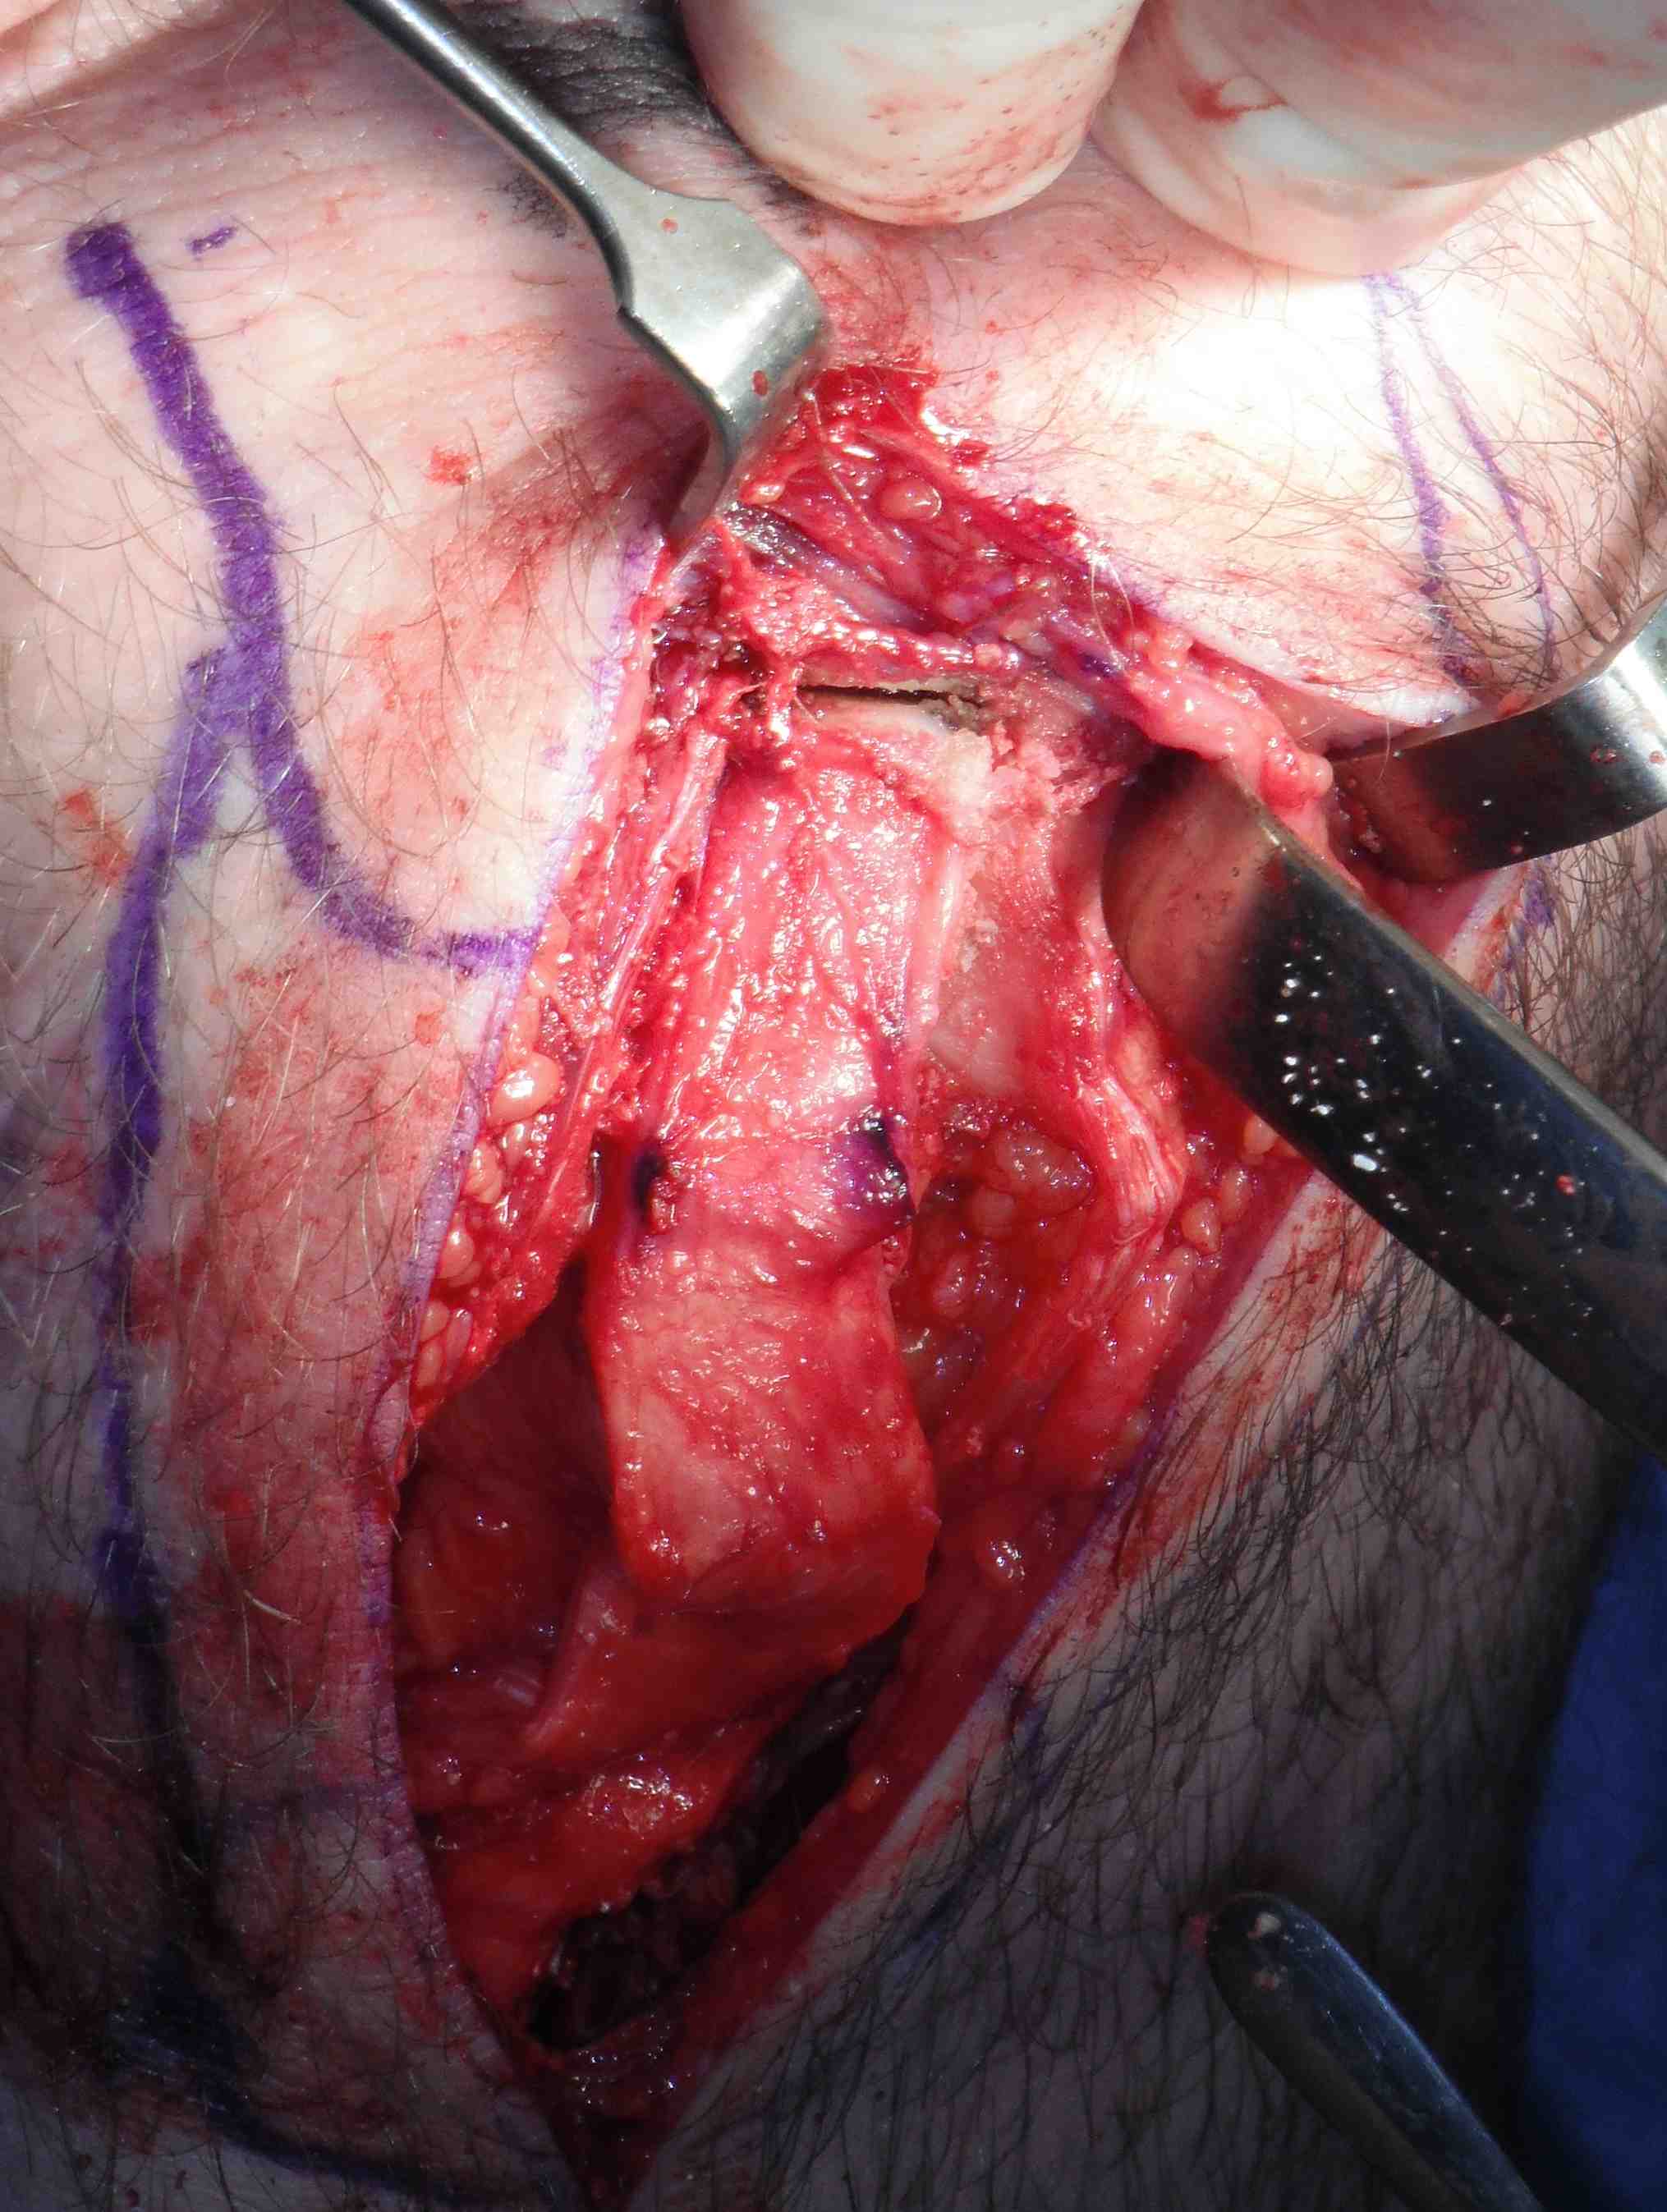
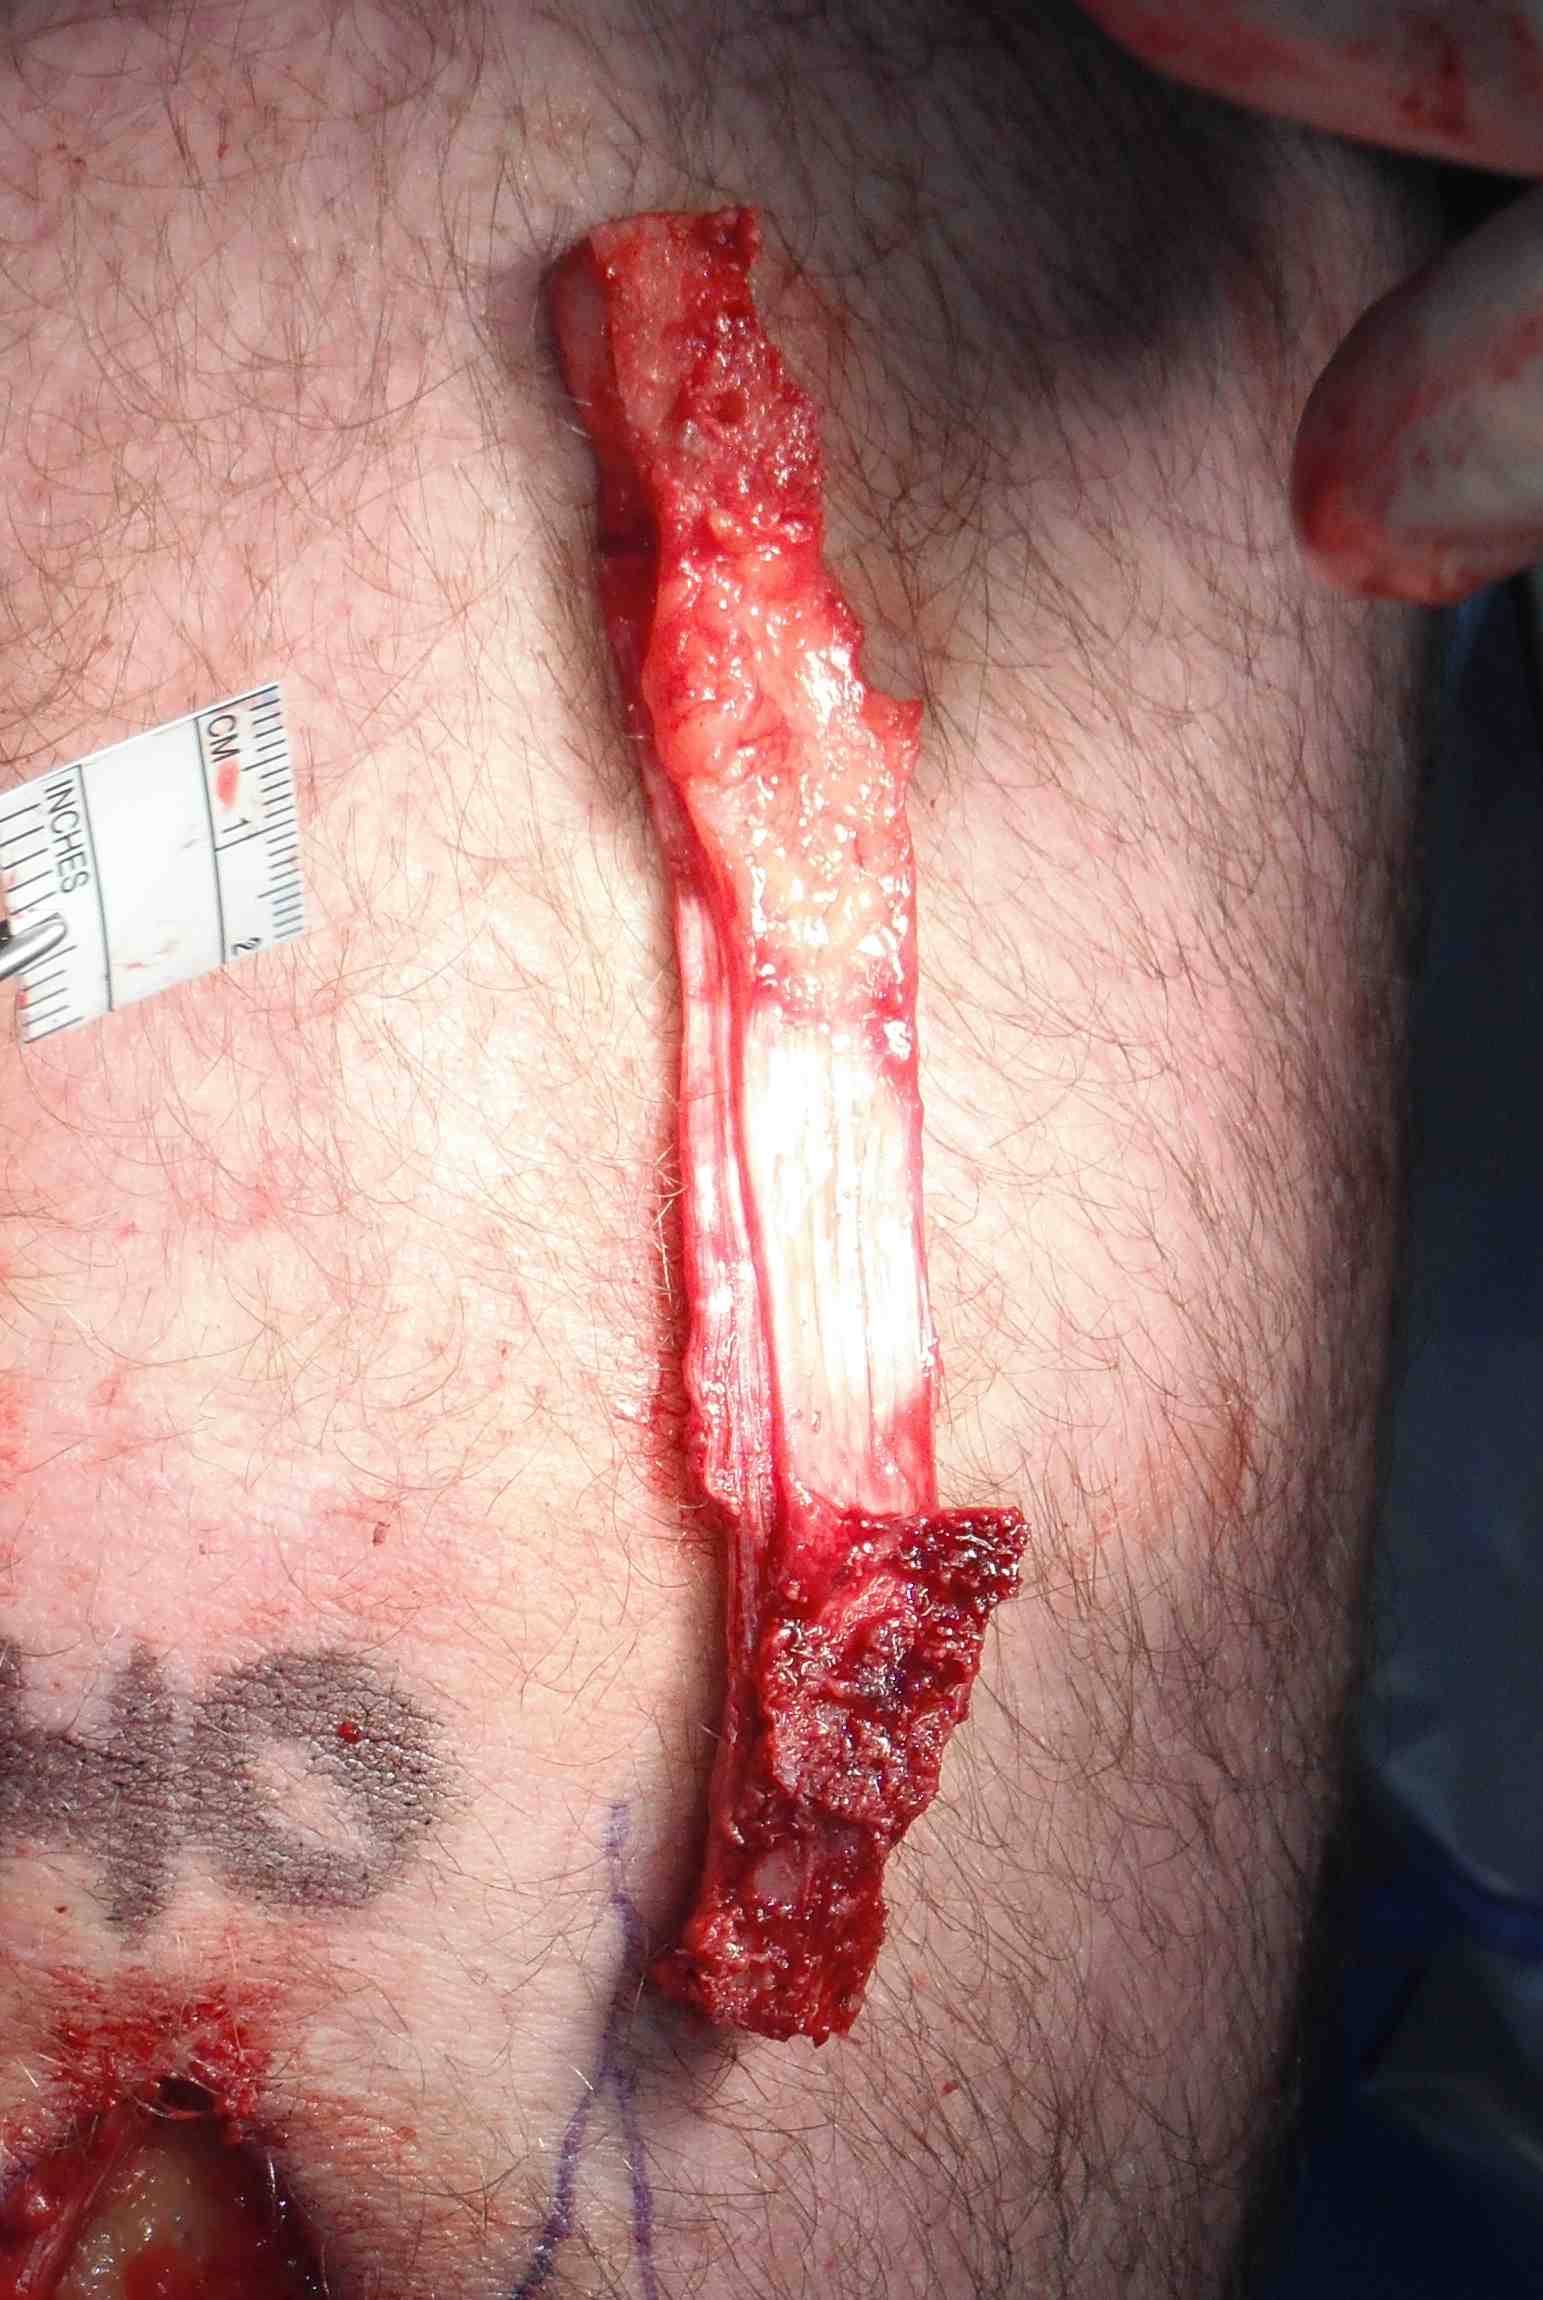
Harvest graft
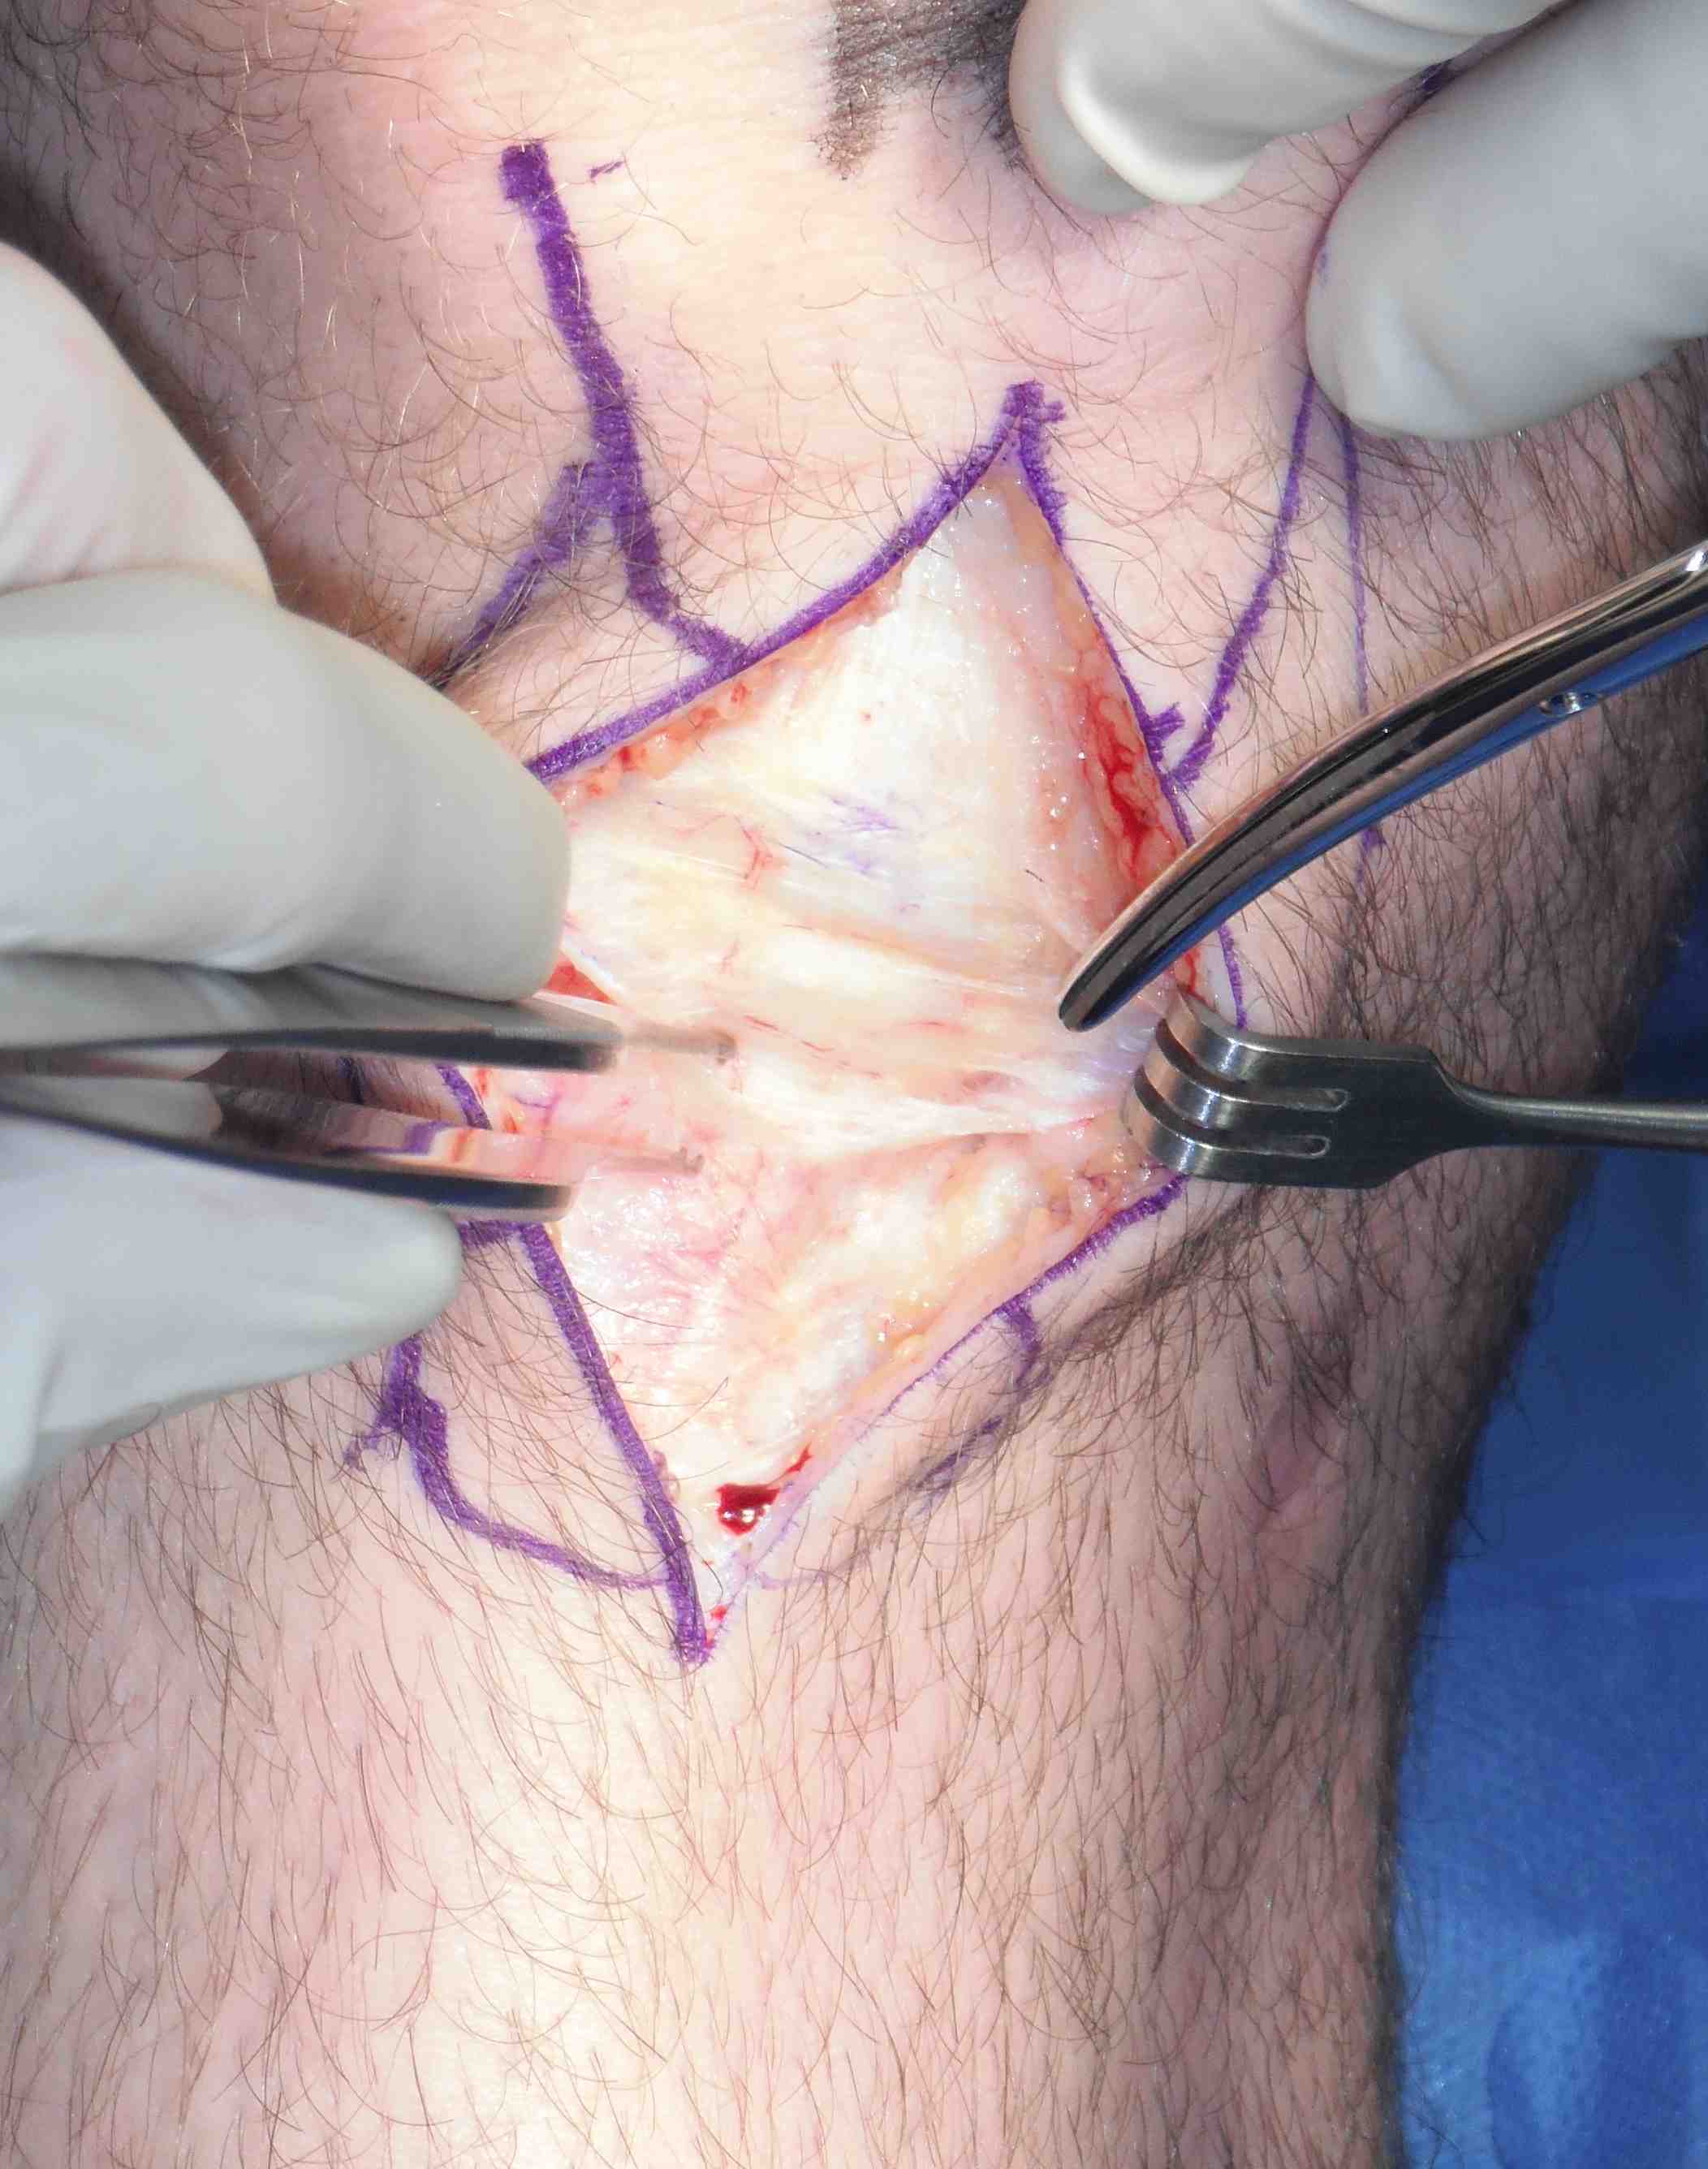
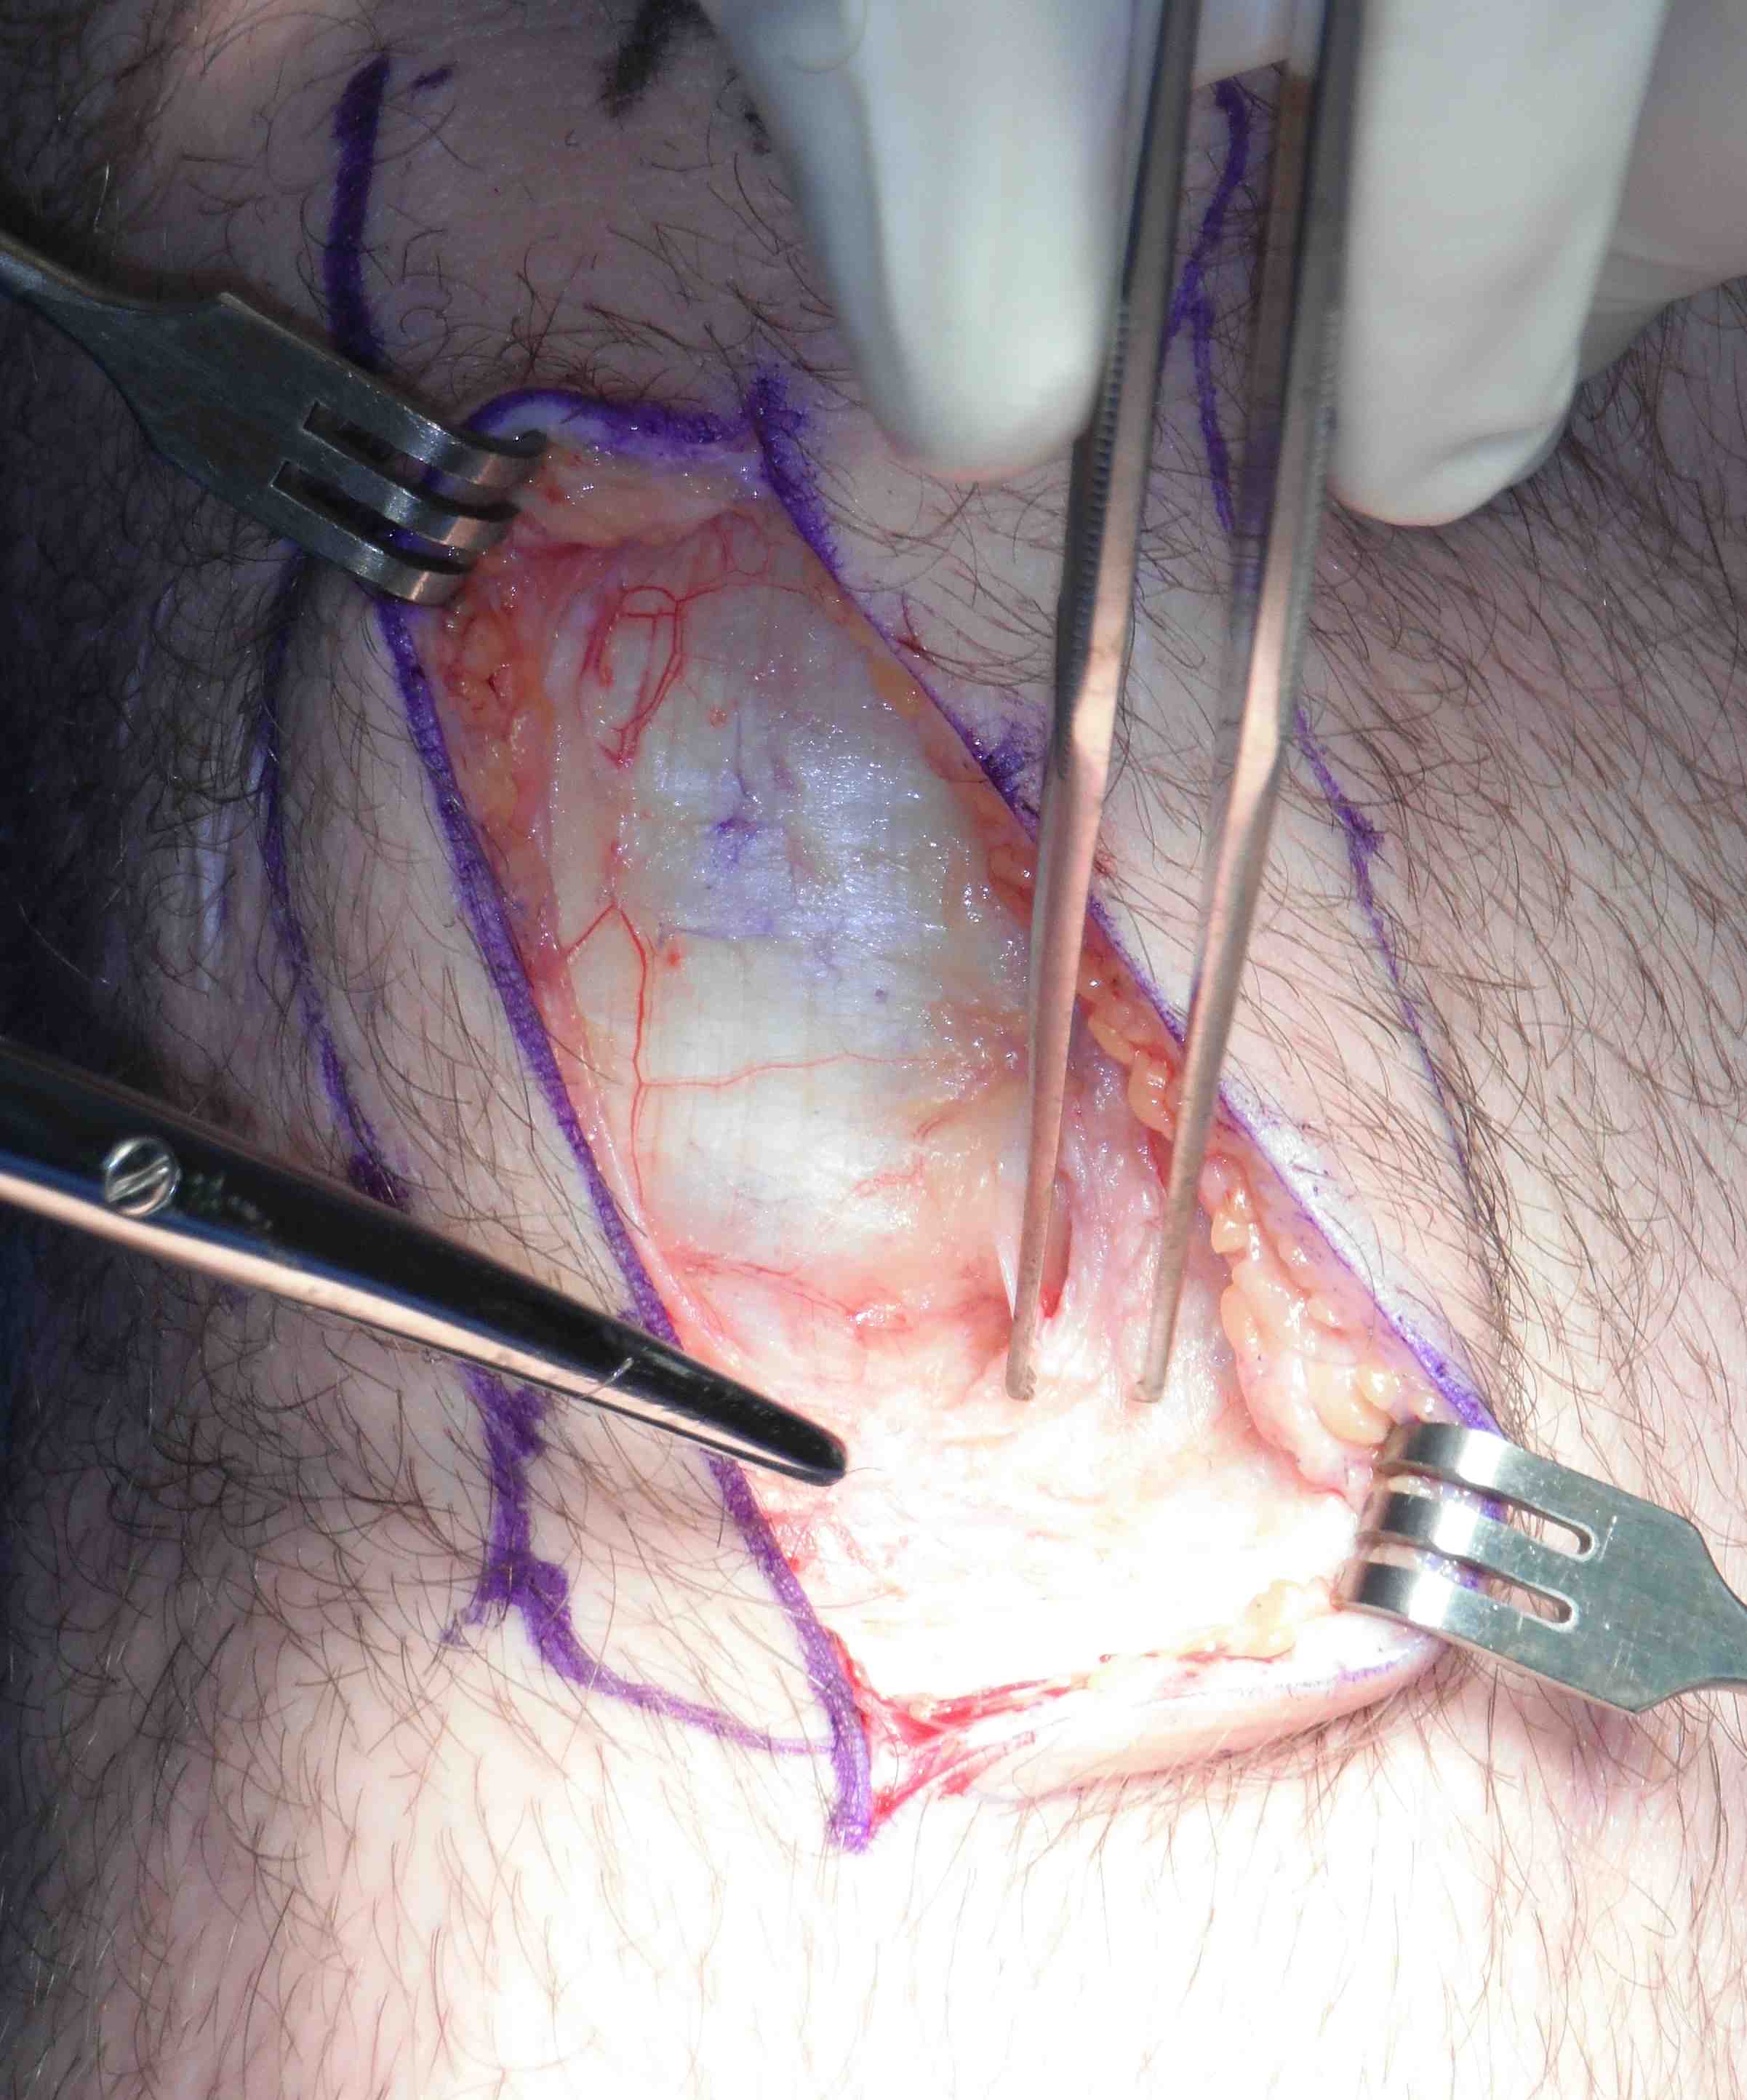
Midline incision over patella tendon
- from lower pole of patella to tibial tuberosity
- dissect fascia off tendon carefully without injuring tendon
- identify medial and lateral margins and assess tendon width
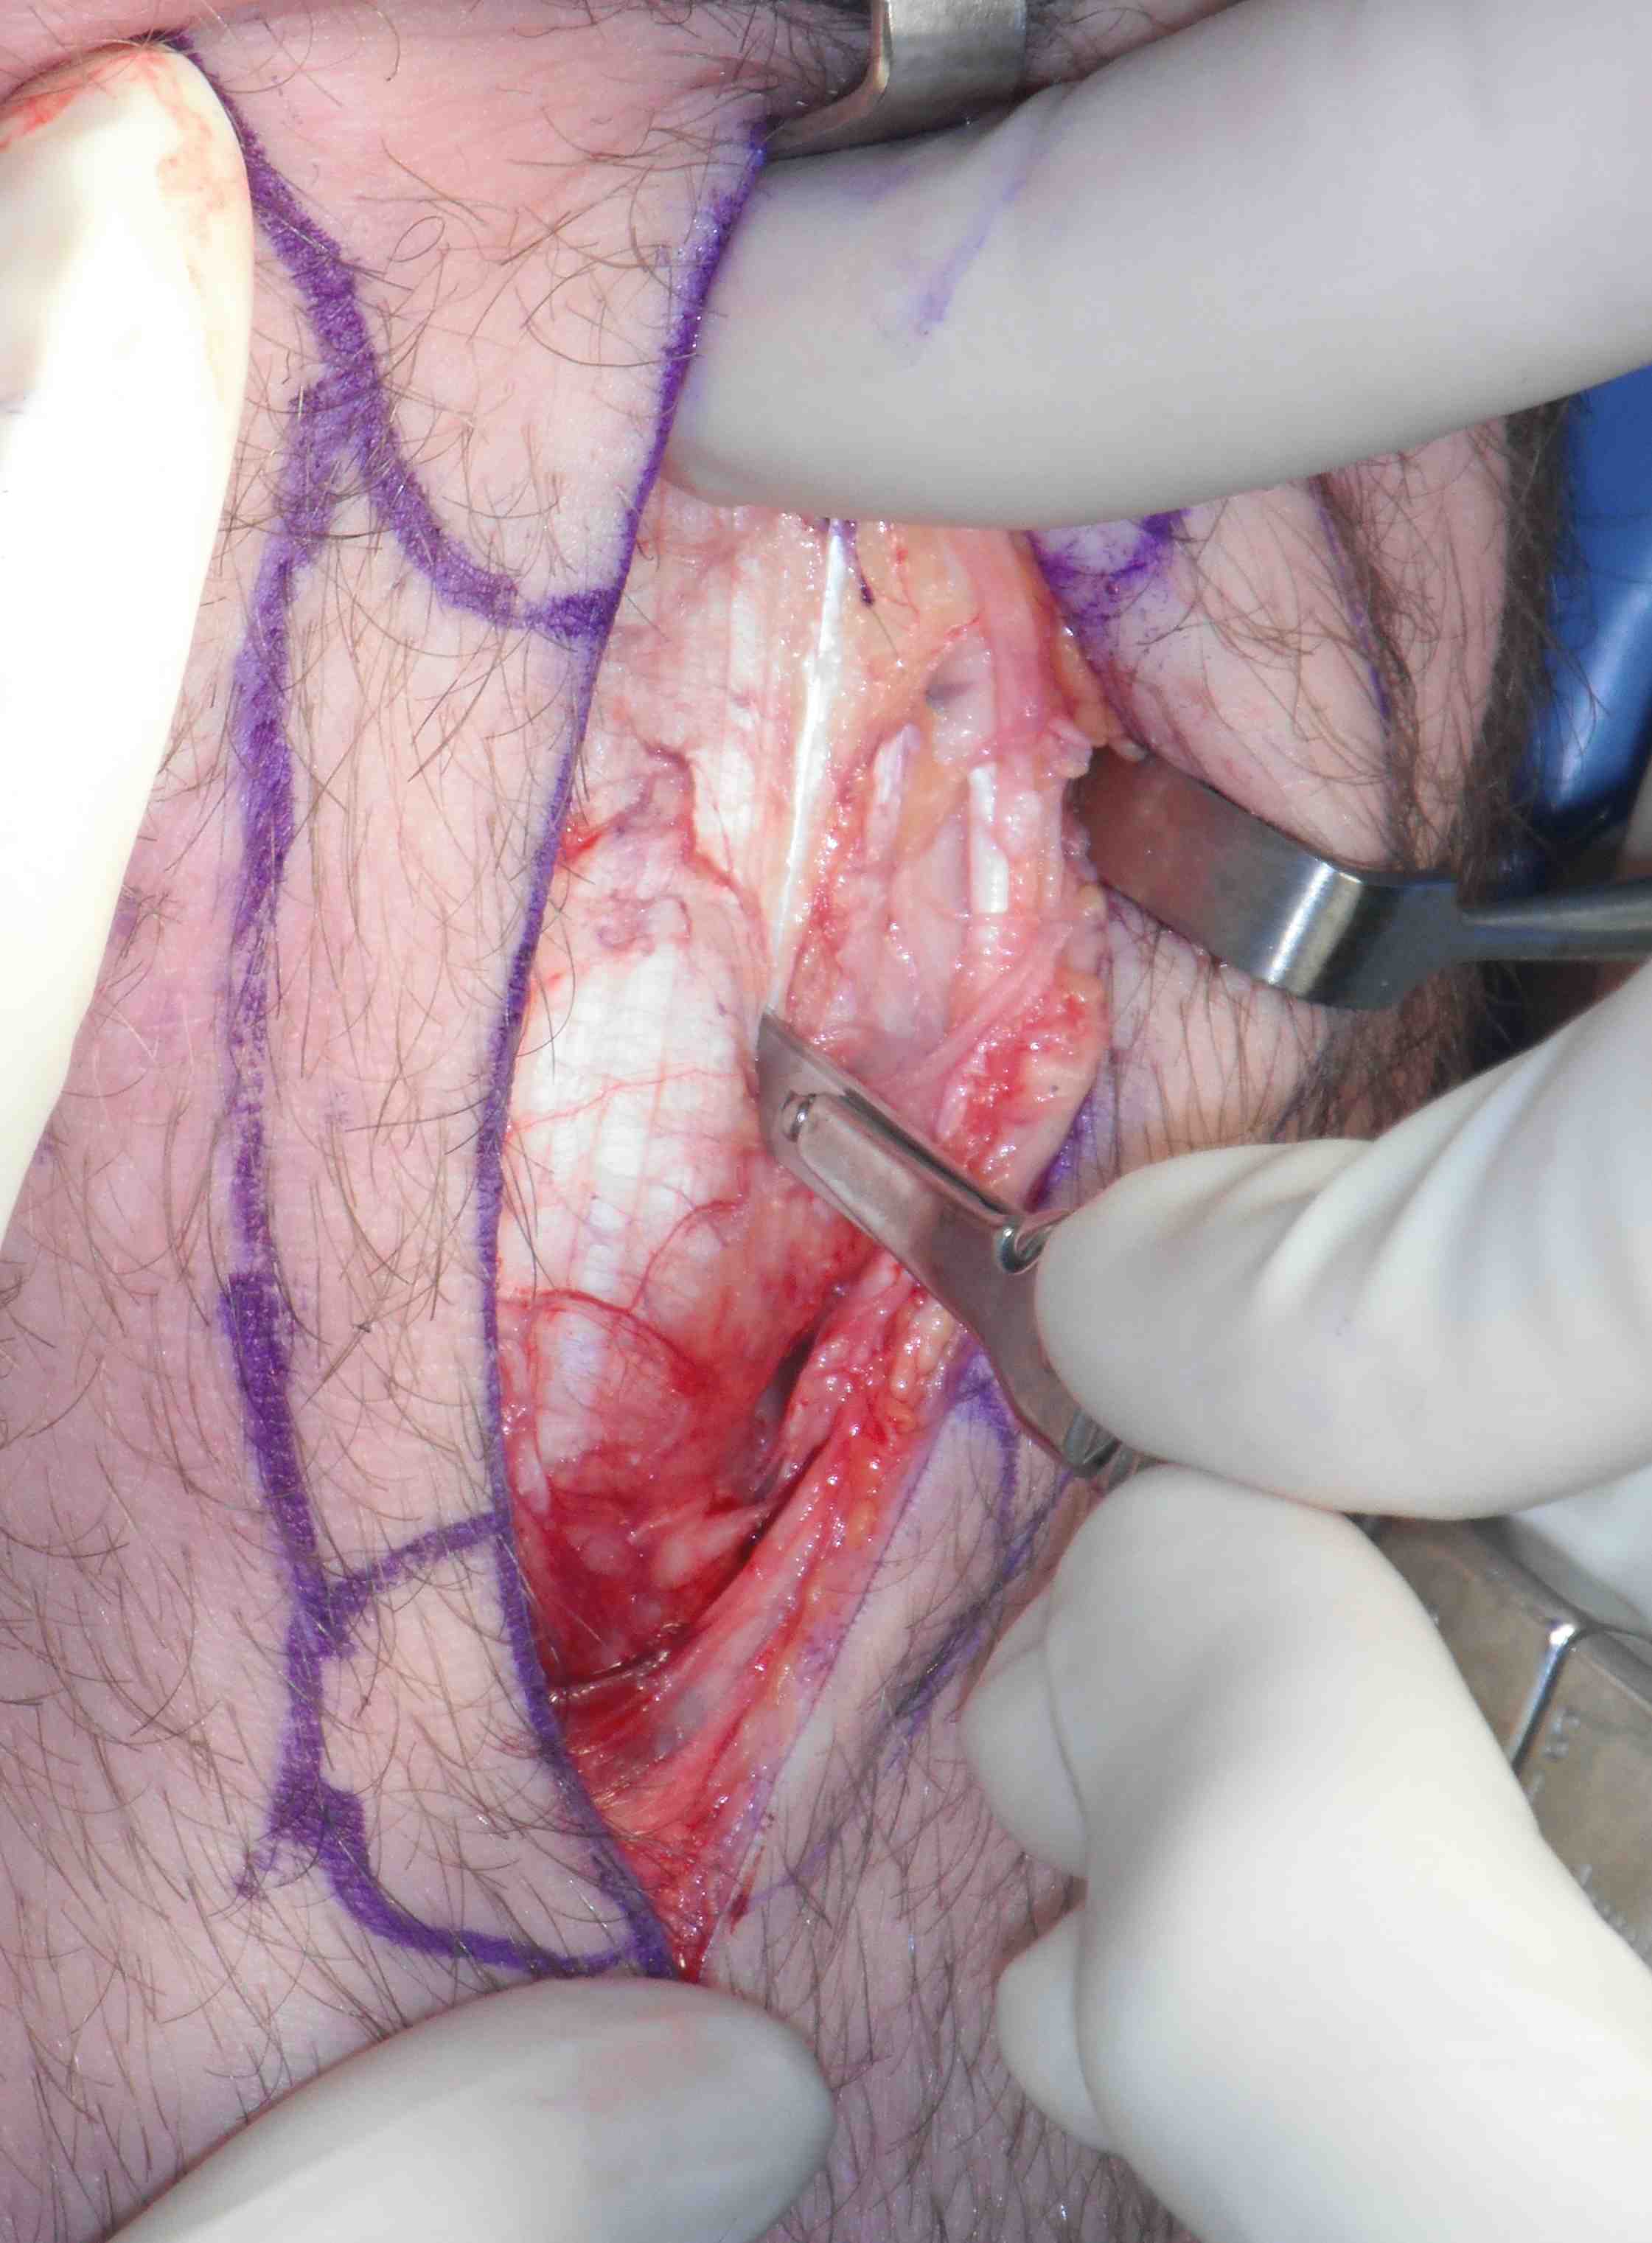
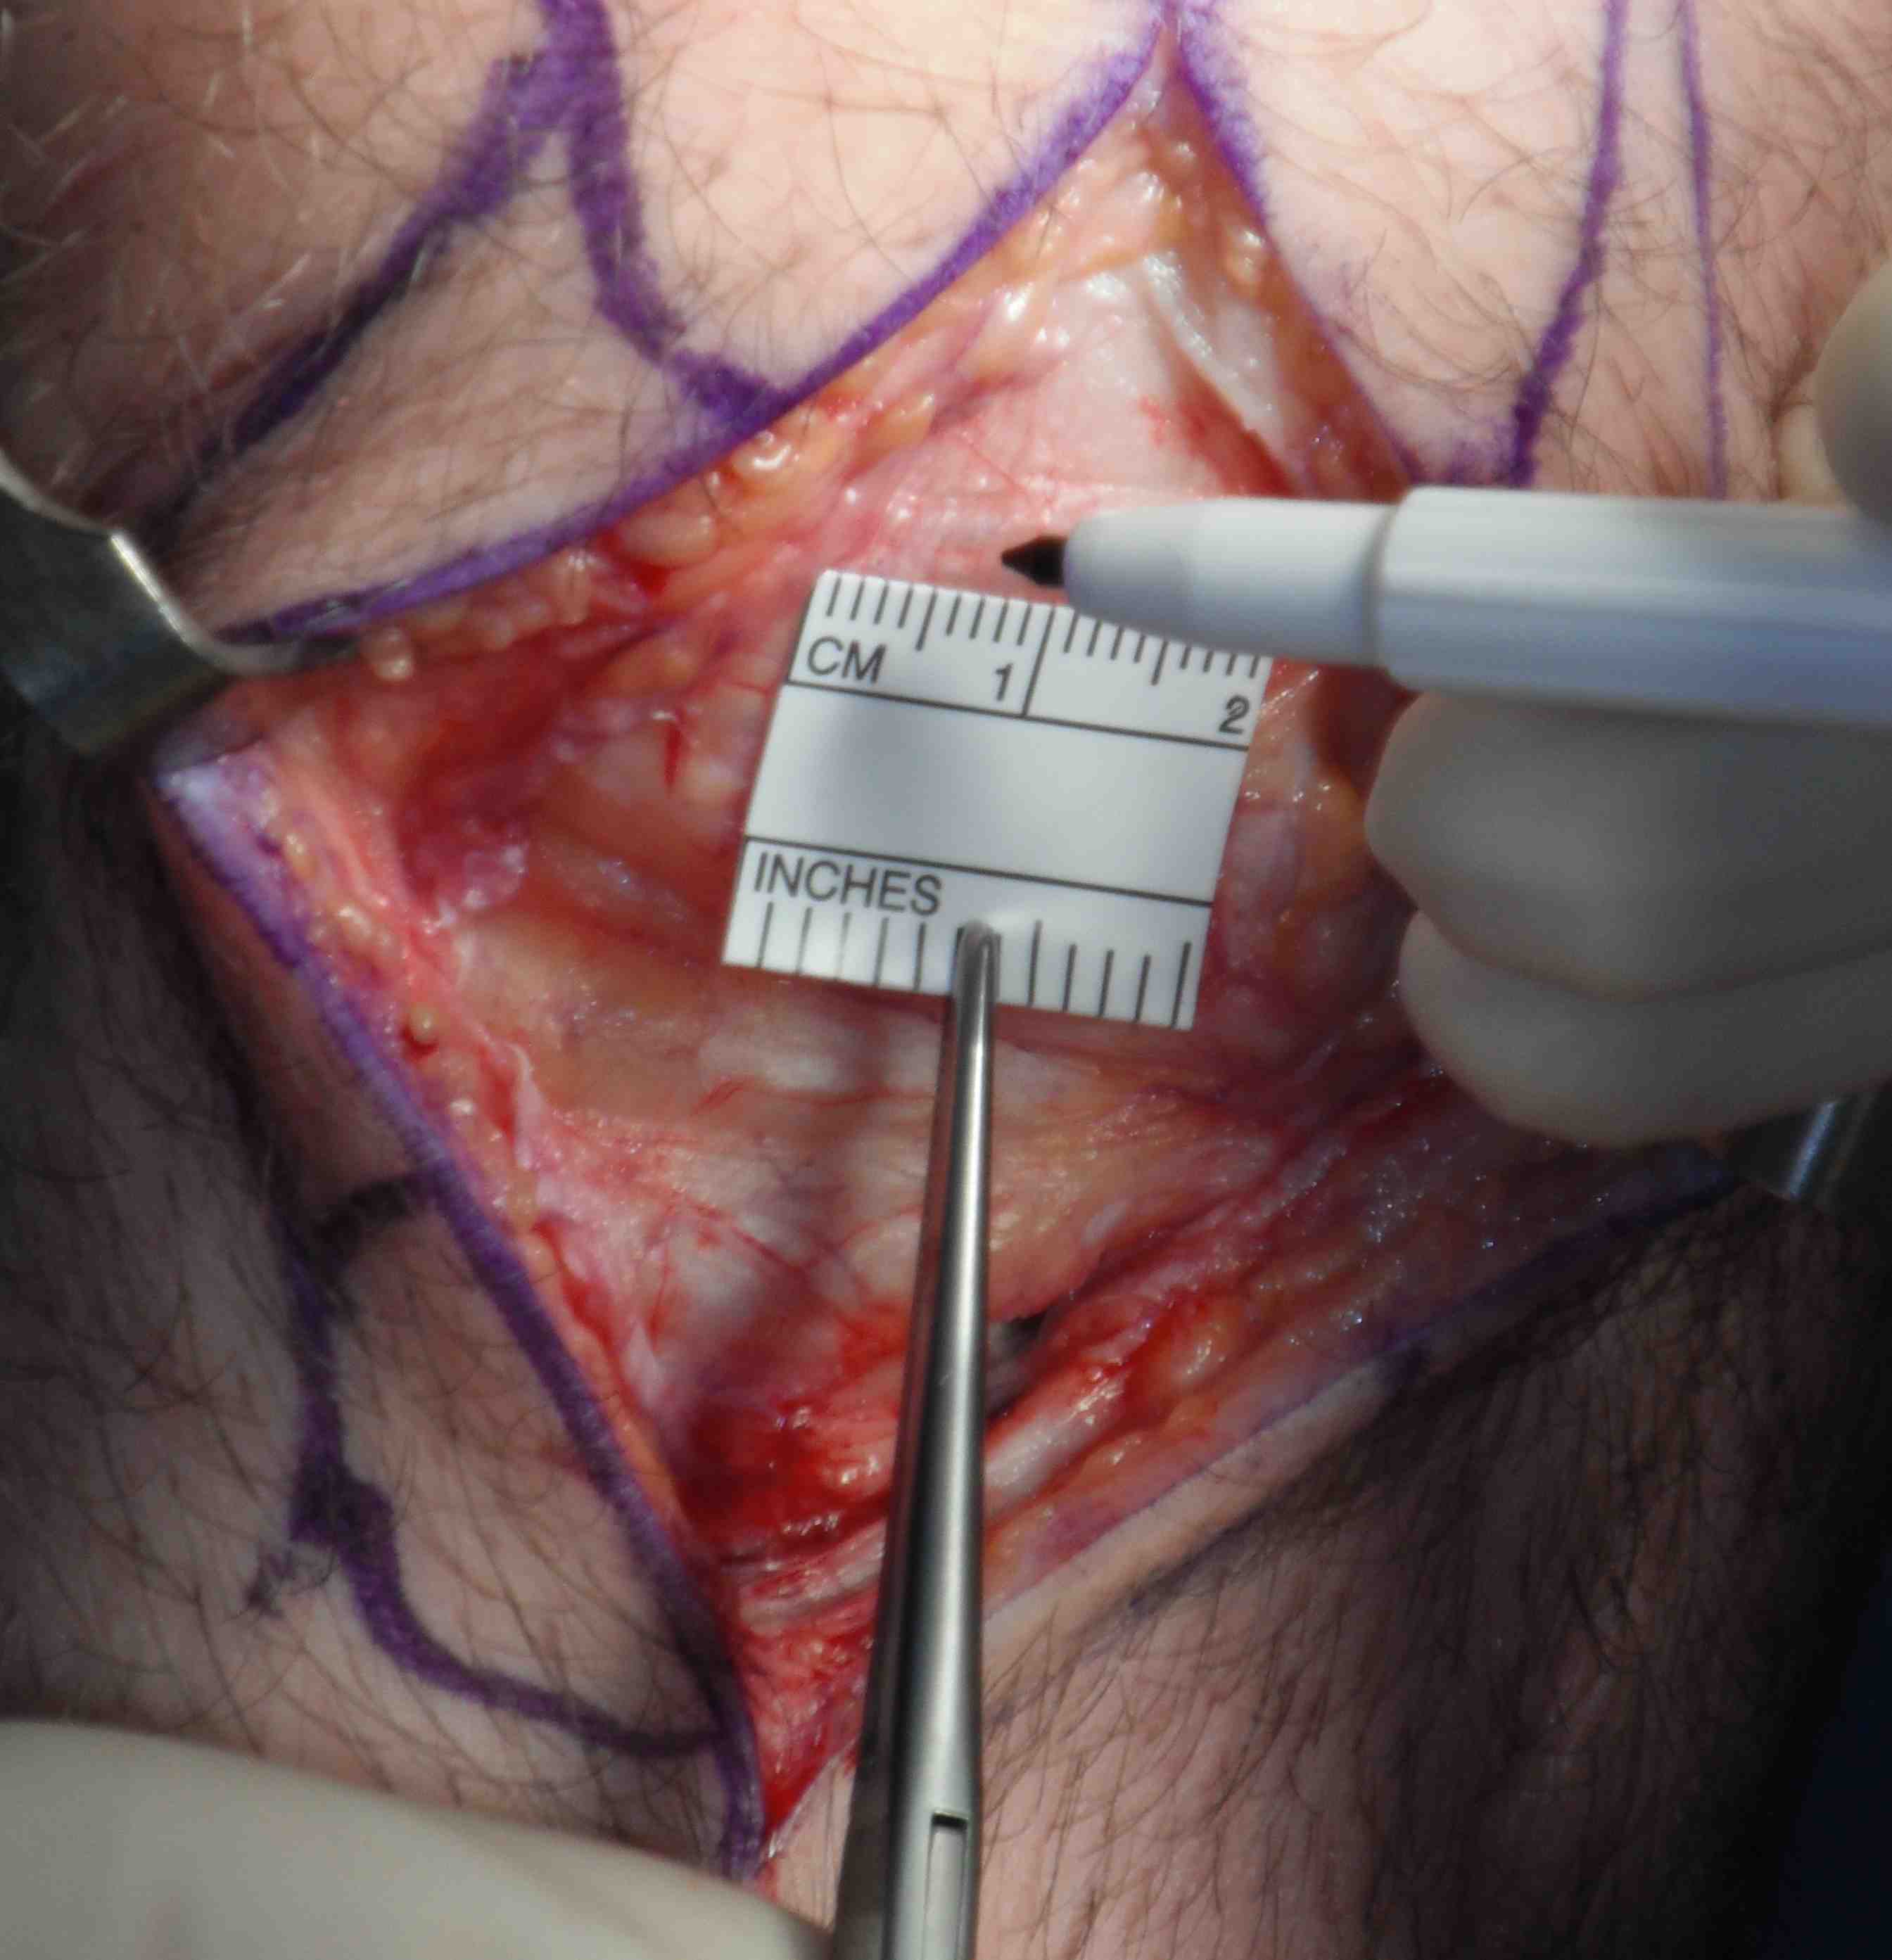
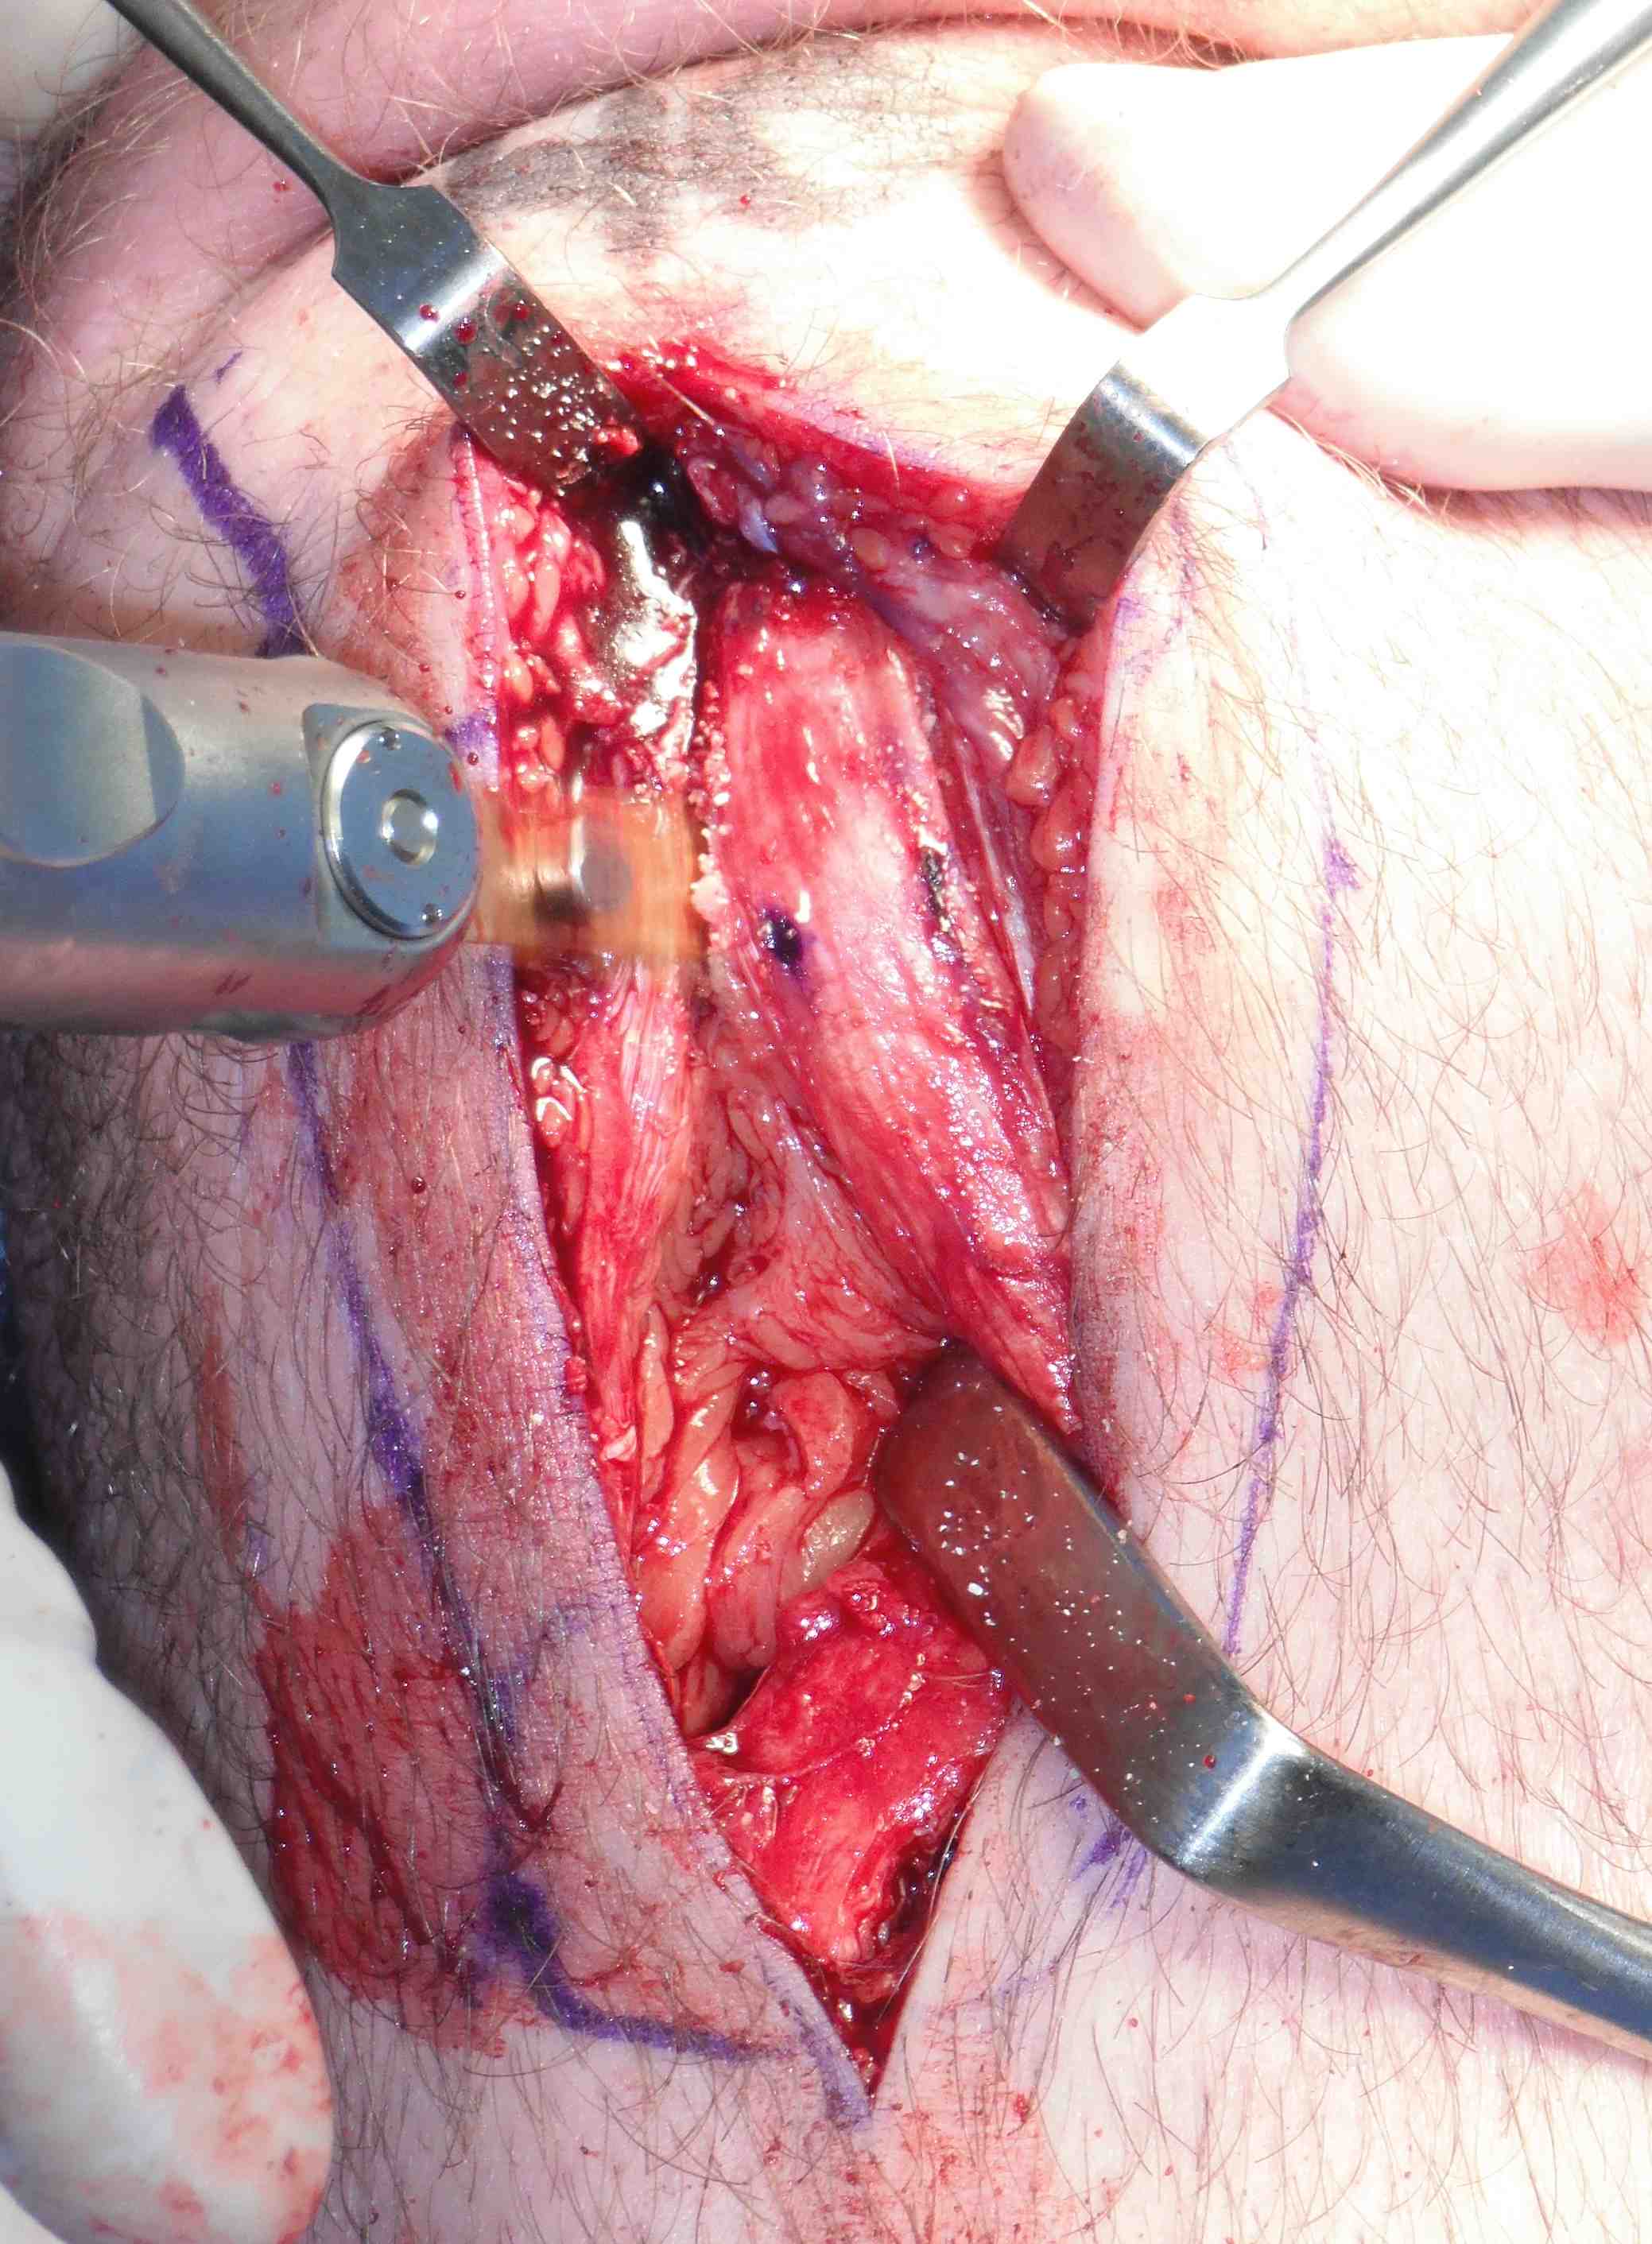
Use marking pen to mark central 1 cm of tendon at distal pole patella
- can increase this to 12 - 14 mm in large male if sufficient tendon width
- use knife to cut from 2 cm on patella down medial side
- ensure leave 5 mm tendon medially
- extend 2cm down tibial tuberosity
- remeasure and cut laterally

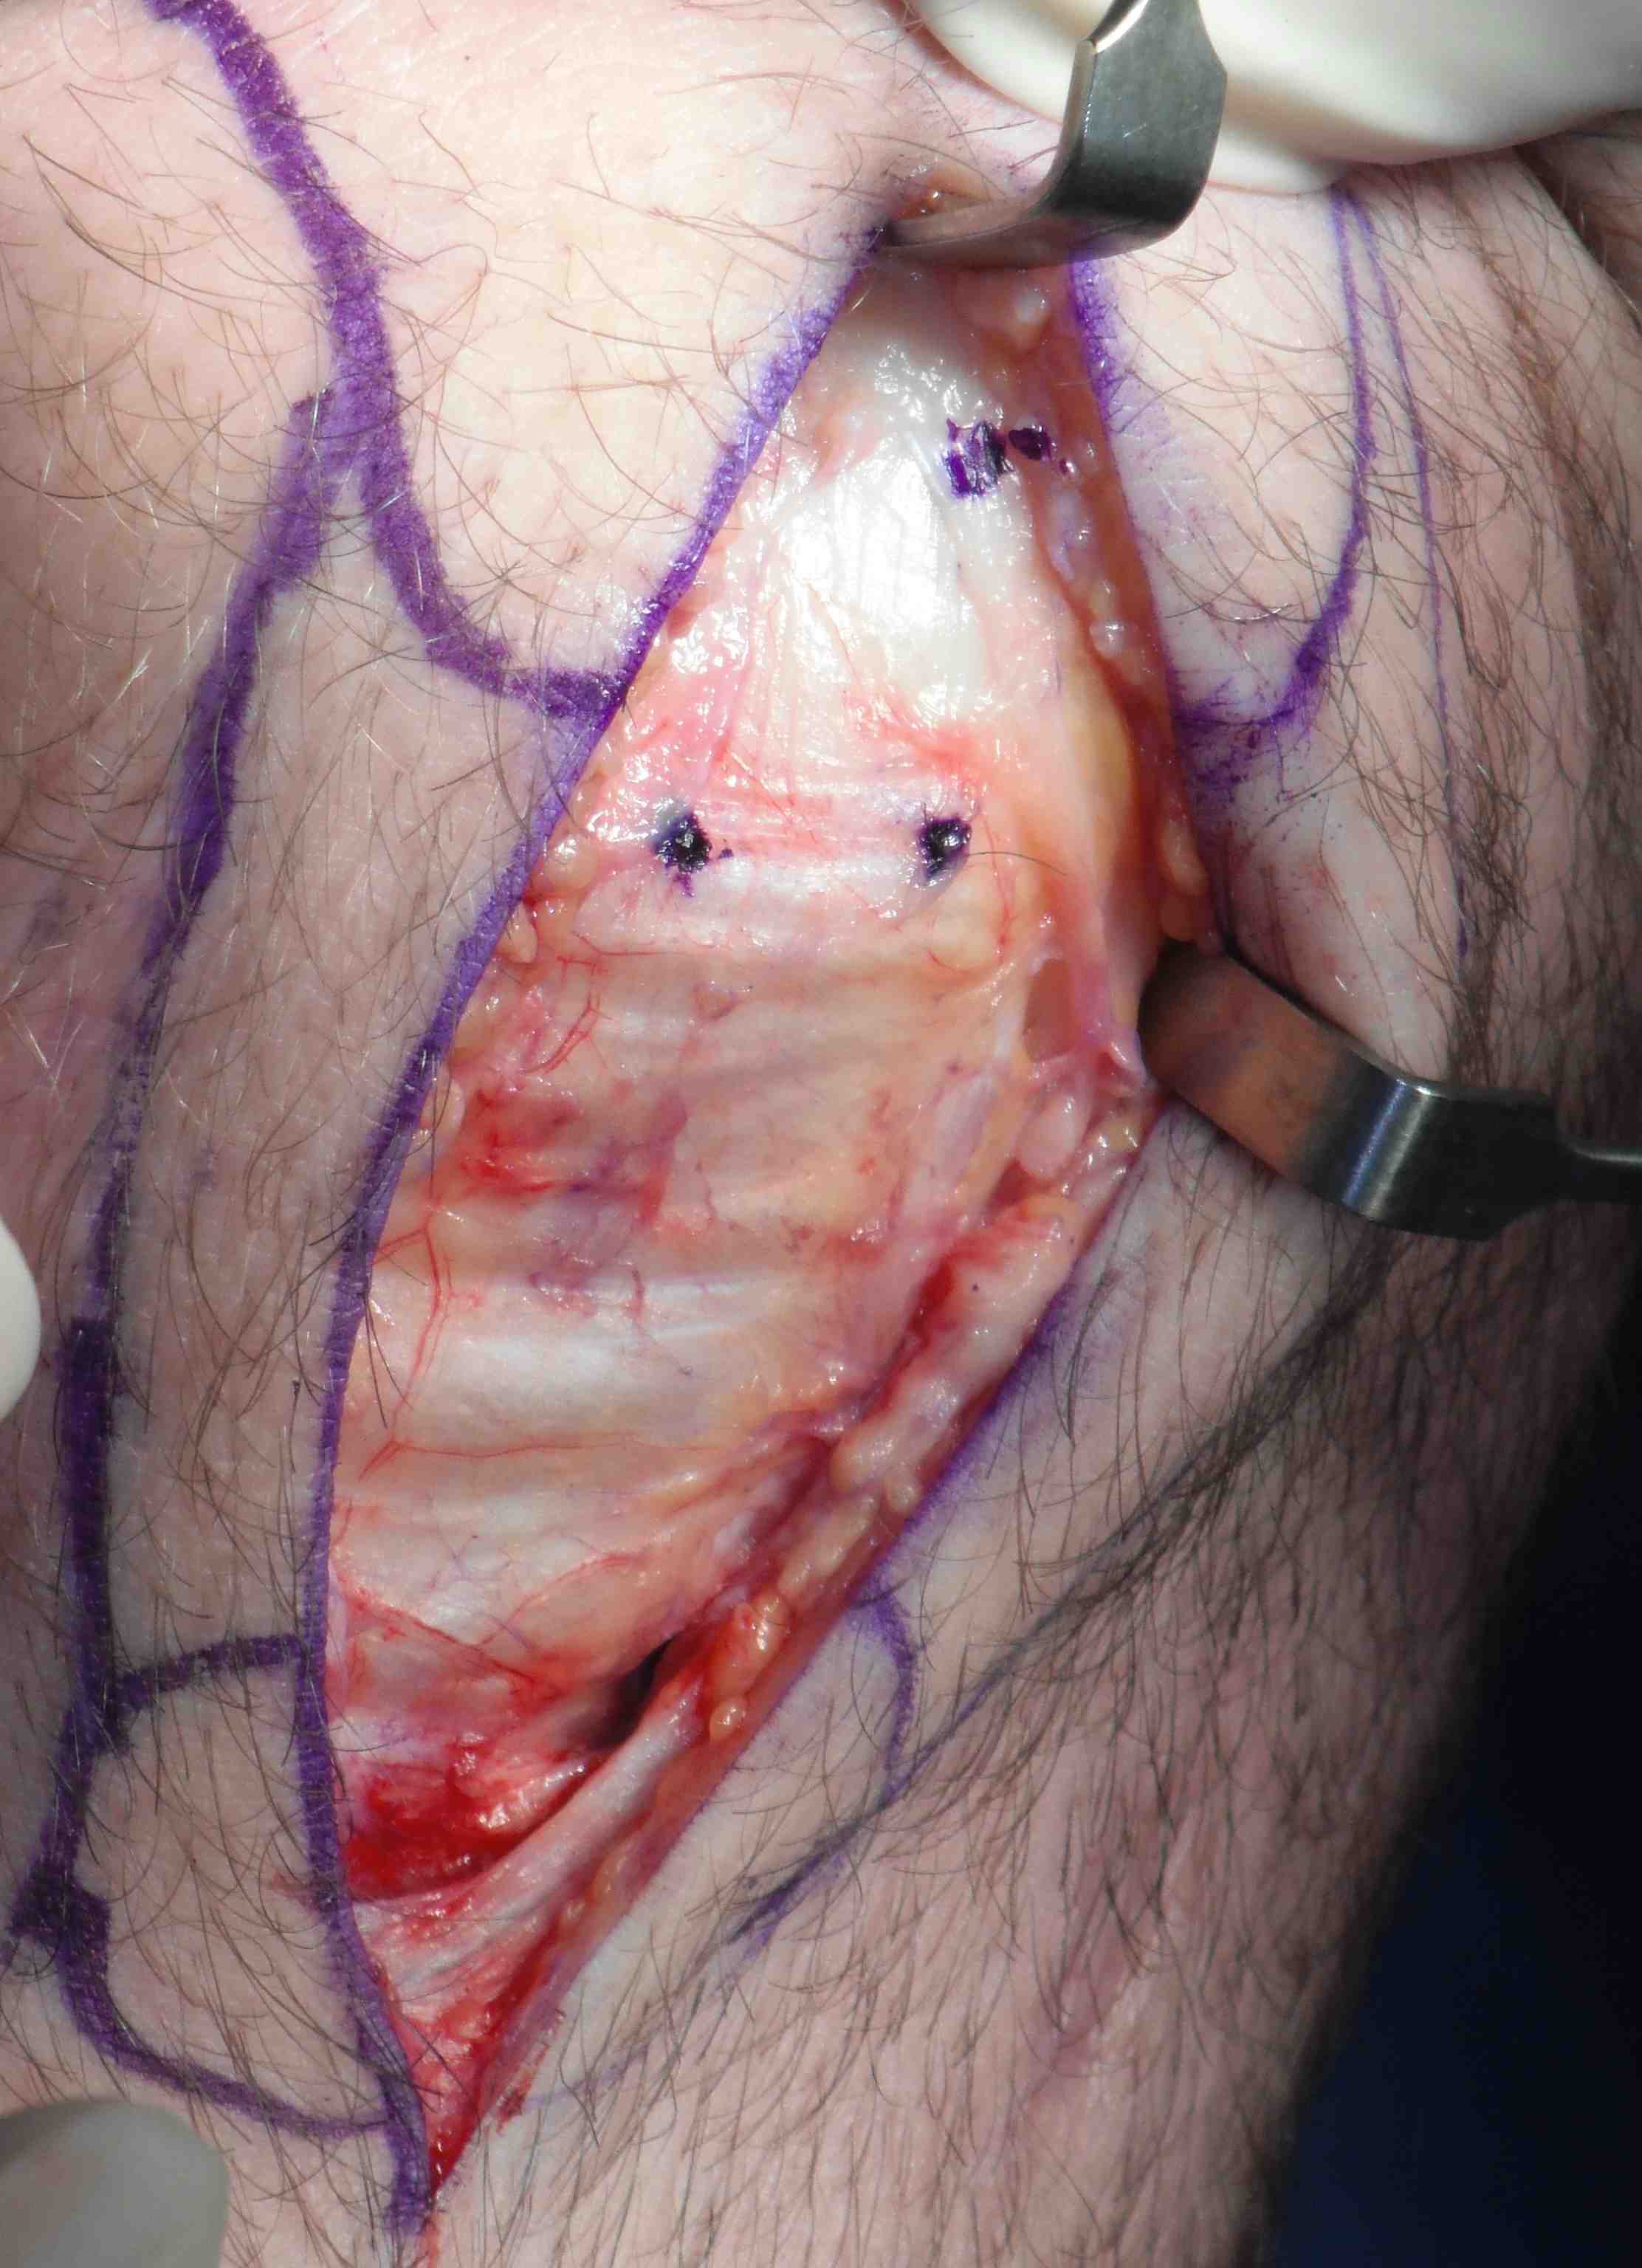
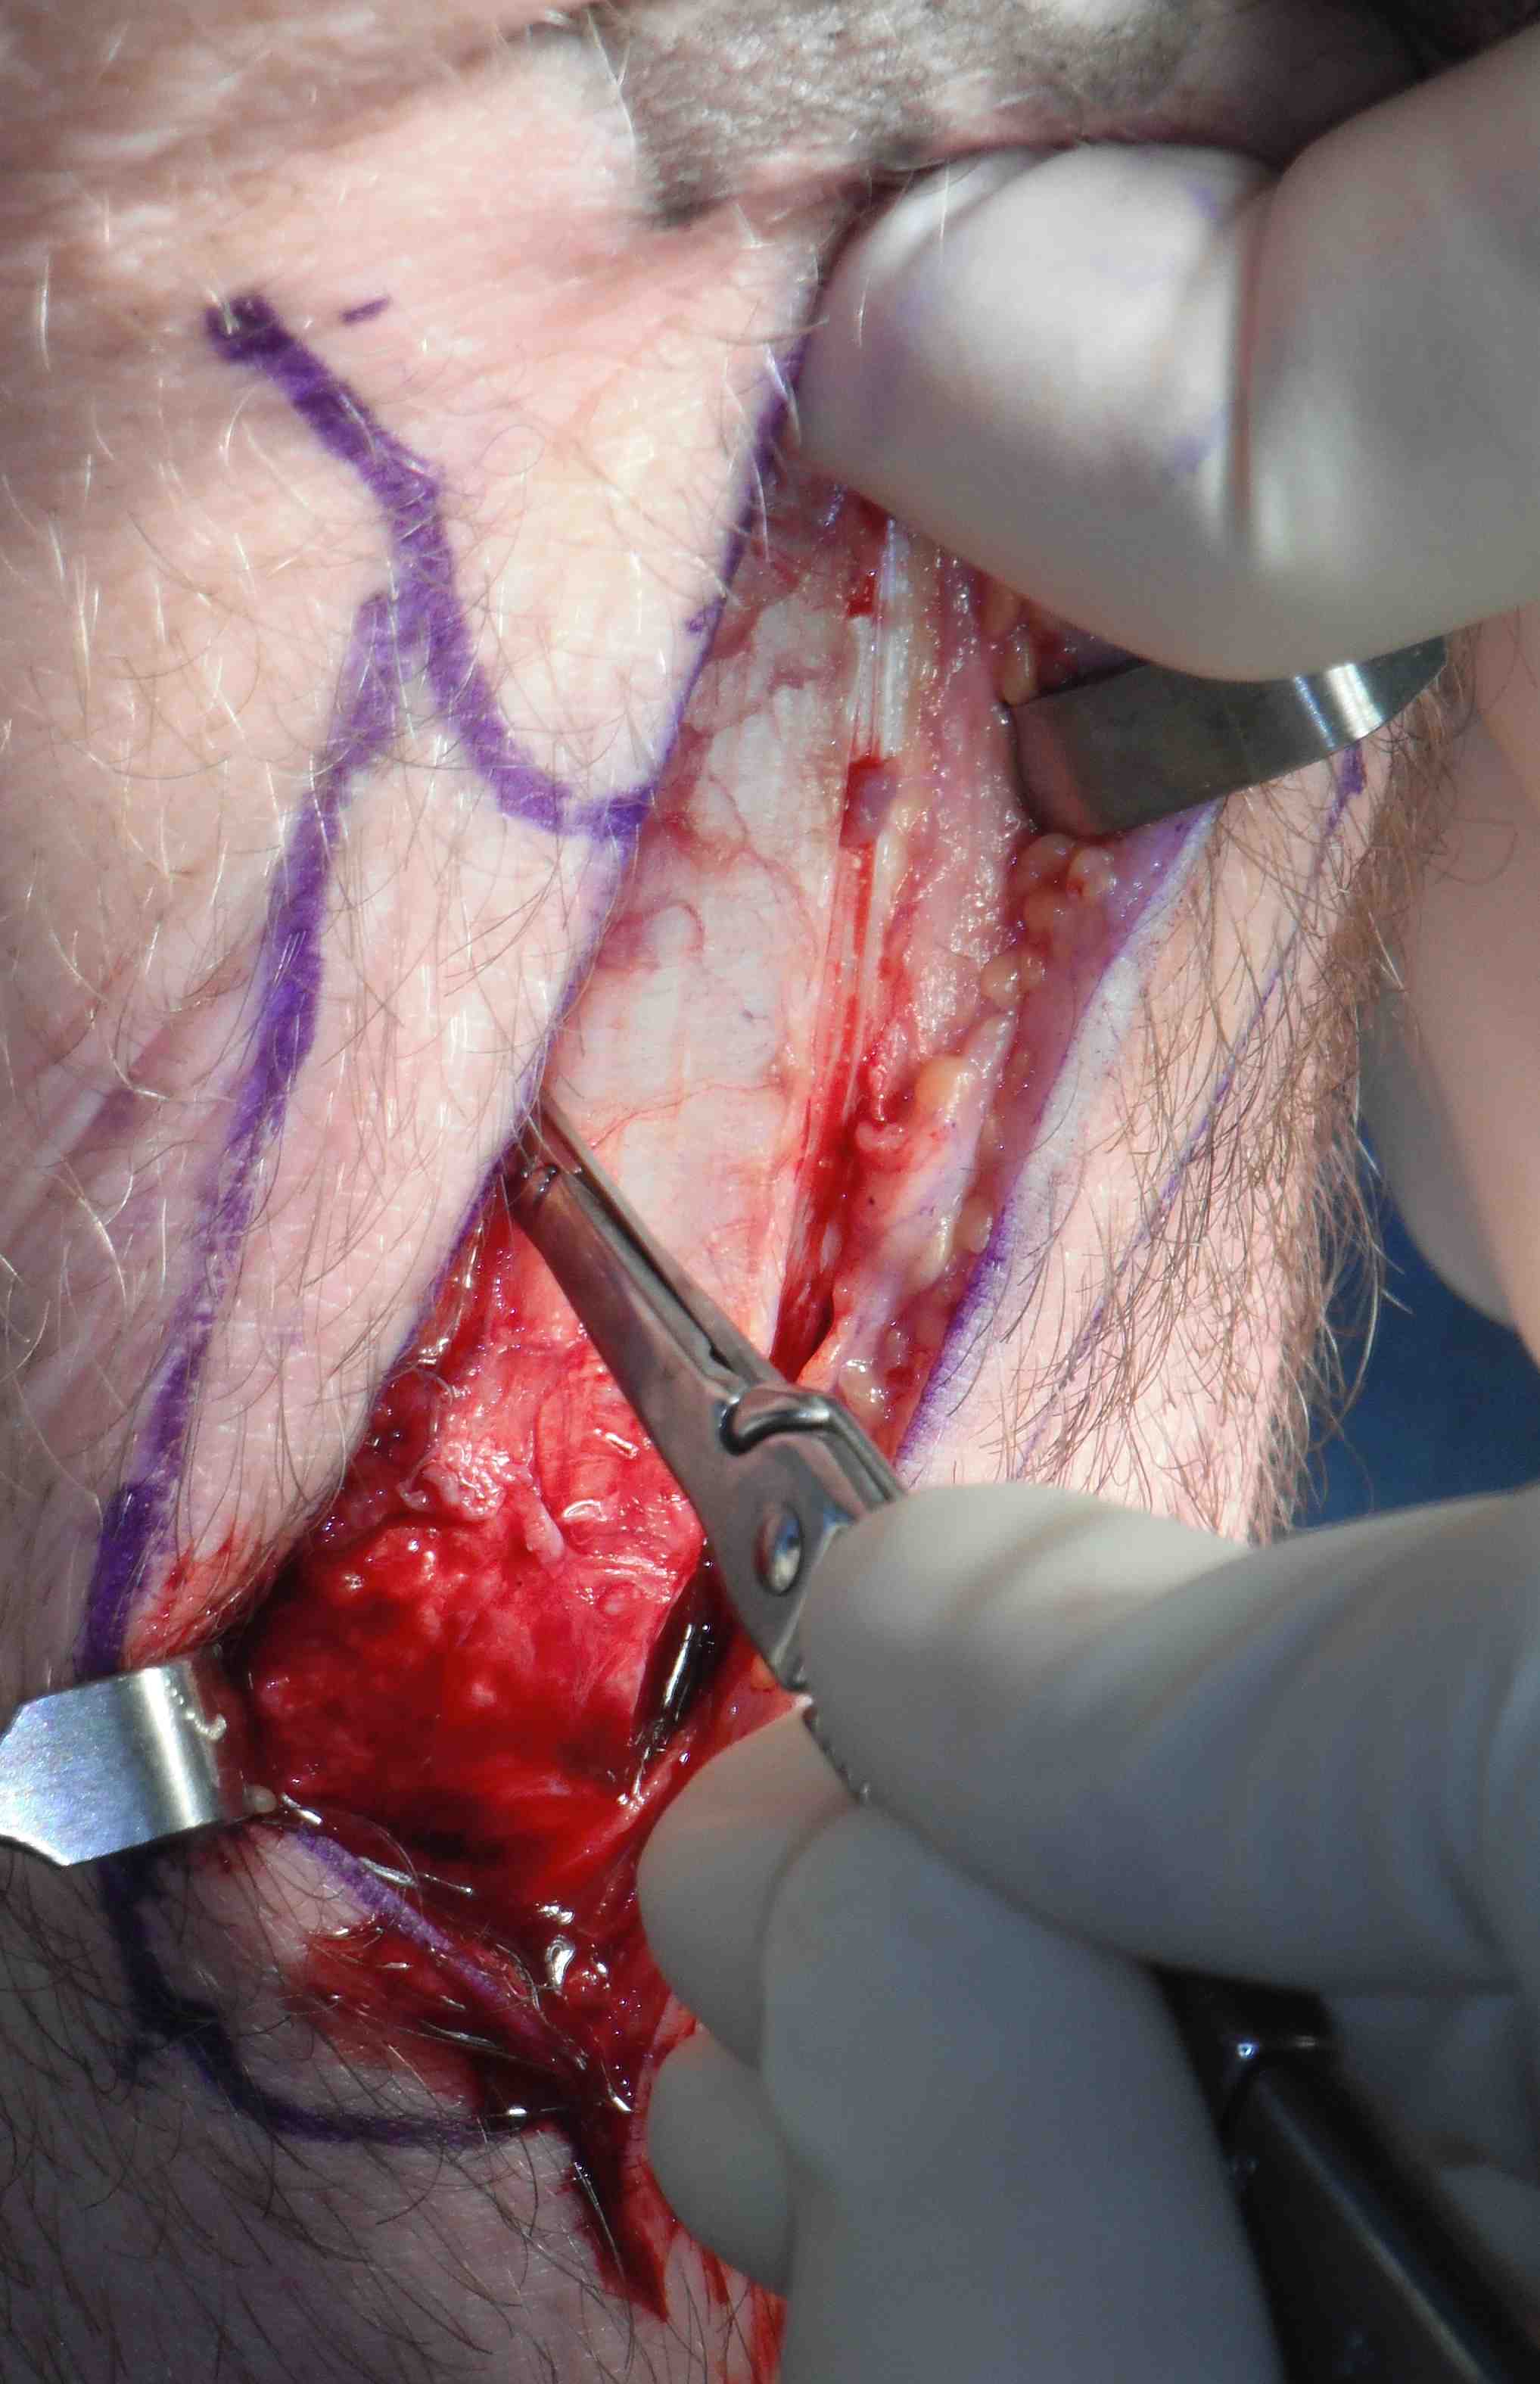
Bone blocks
- measure 2 x 1 cm bone block on tibial tuberosity
- cut each side at 45o with saw
- 1cm deep with each saw cut meeting as triangle
- distal transverse cut 1cm deep
- lever out with curved ostetome
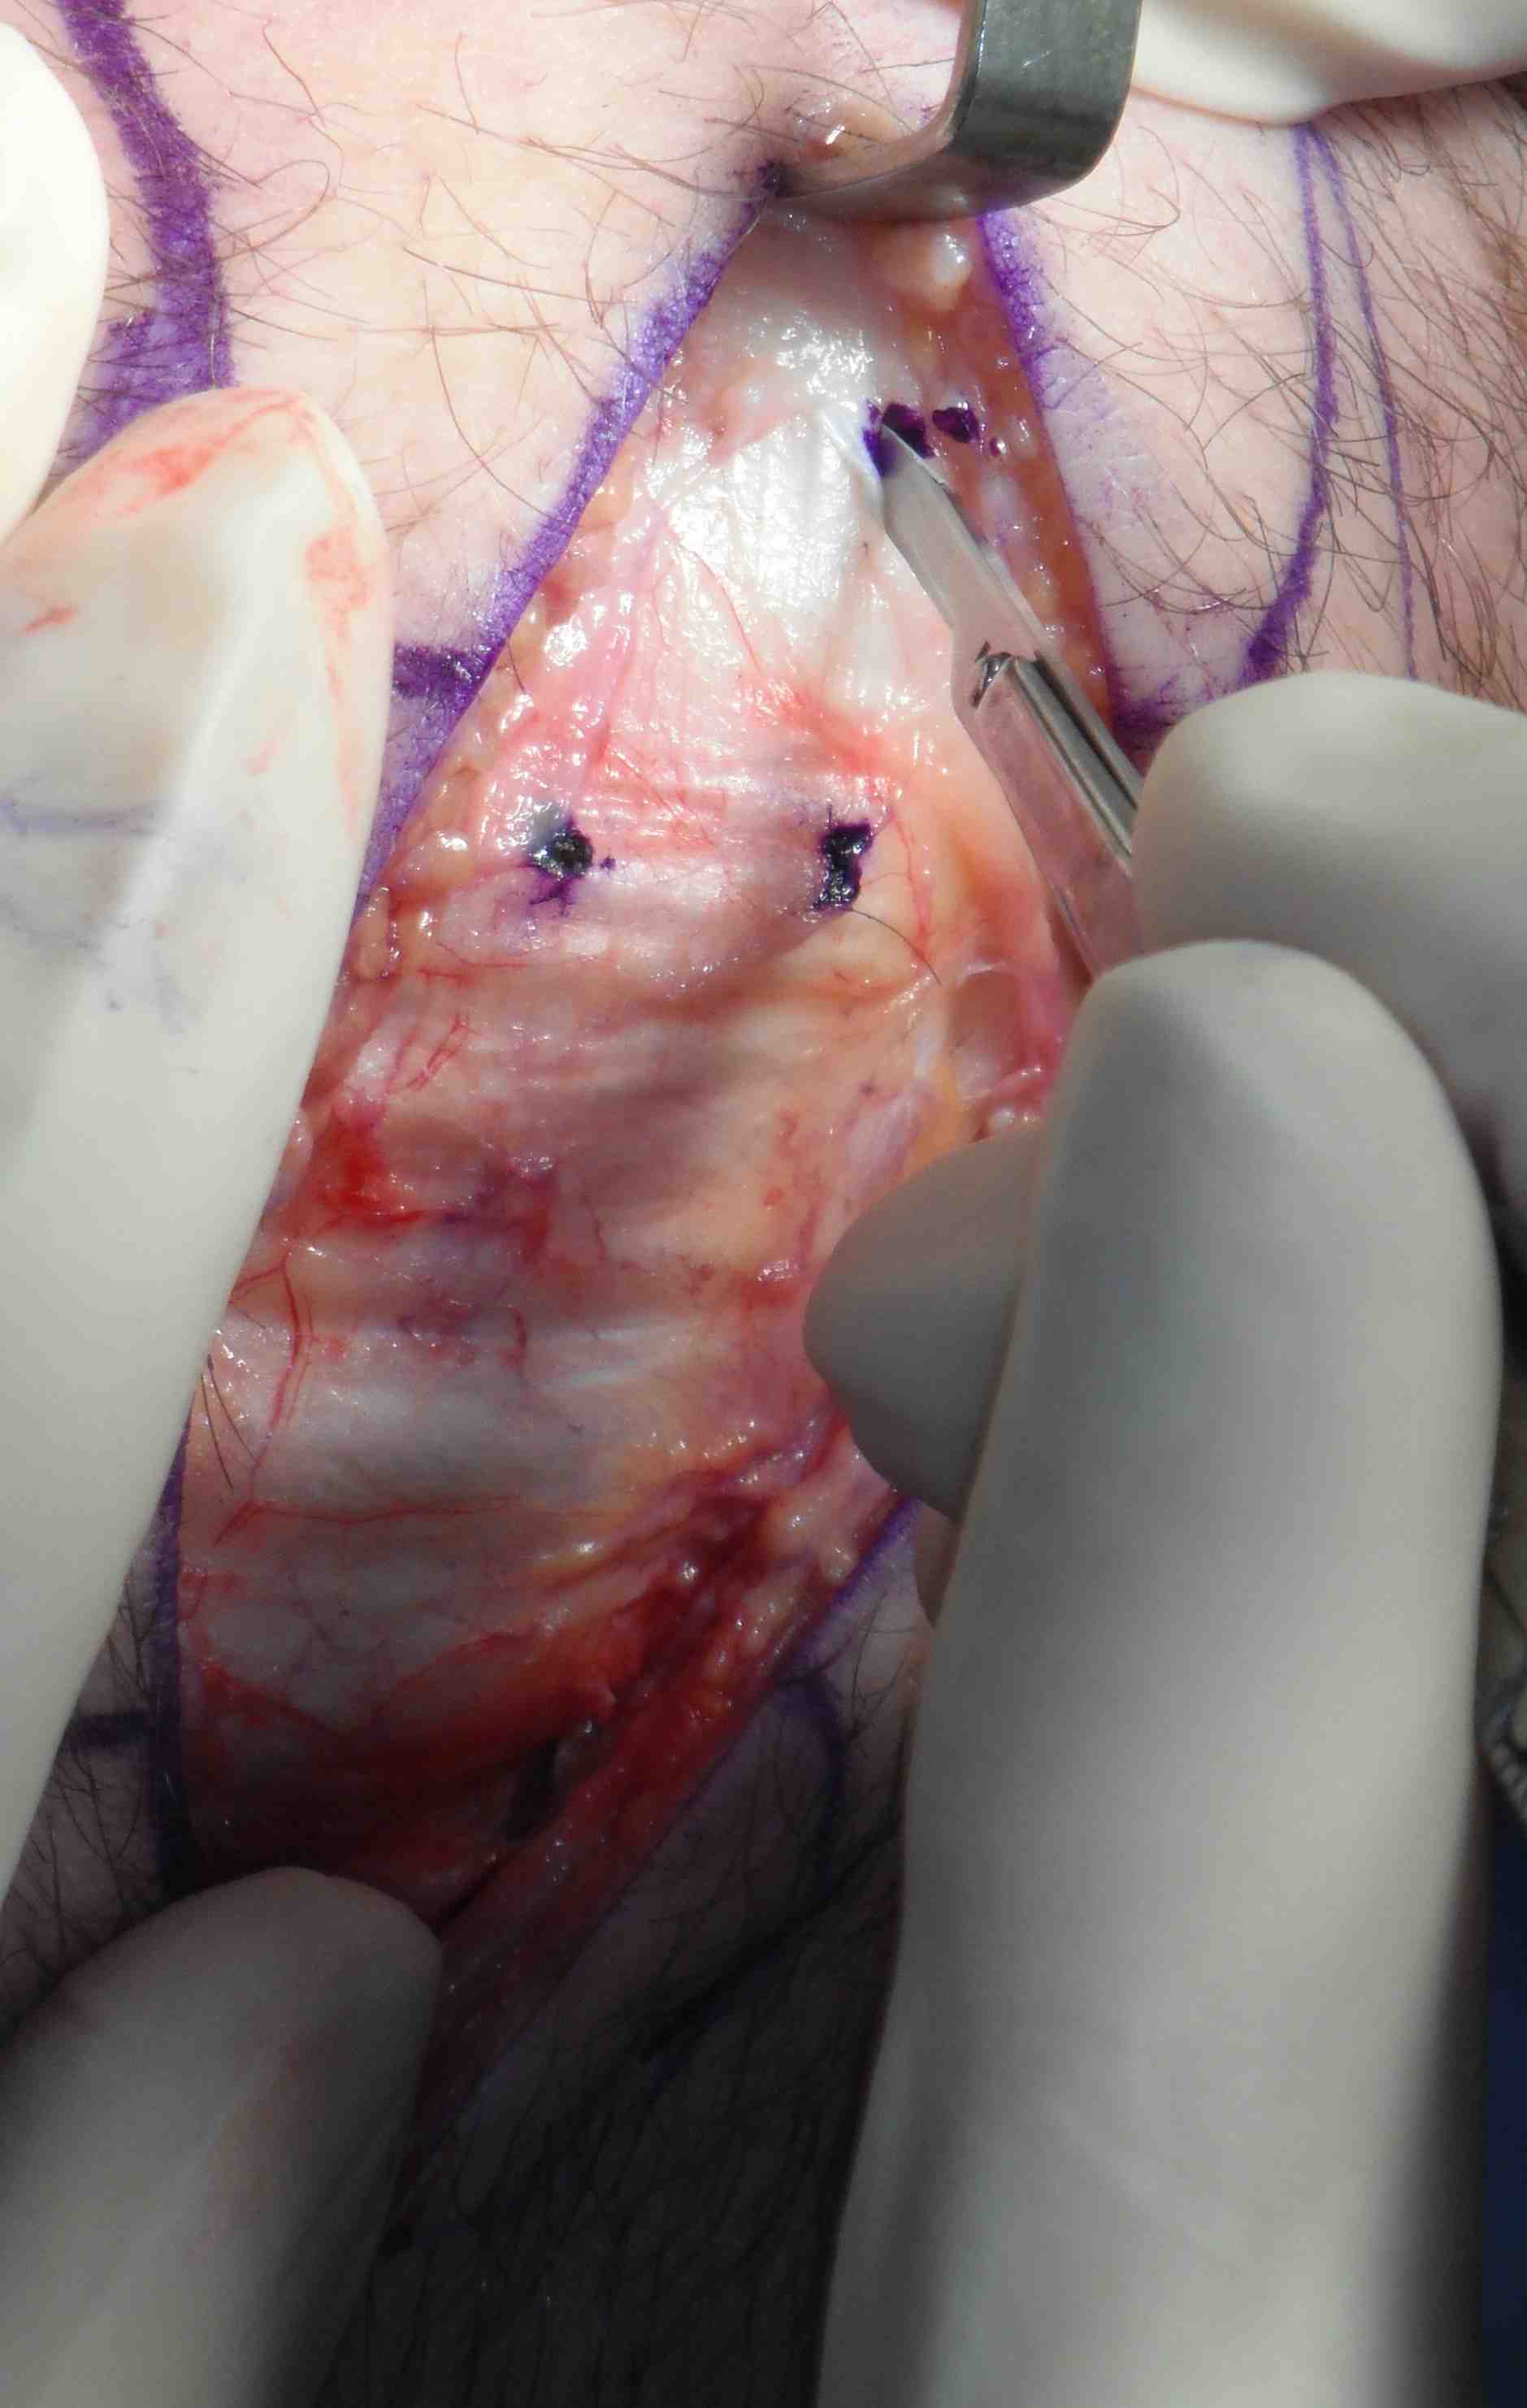
- make 2 x 1.5 cm drill holes with piece in situ, mark with pen
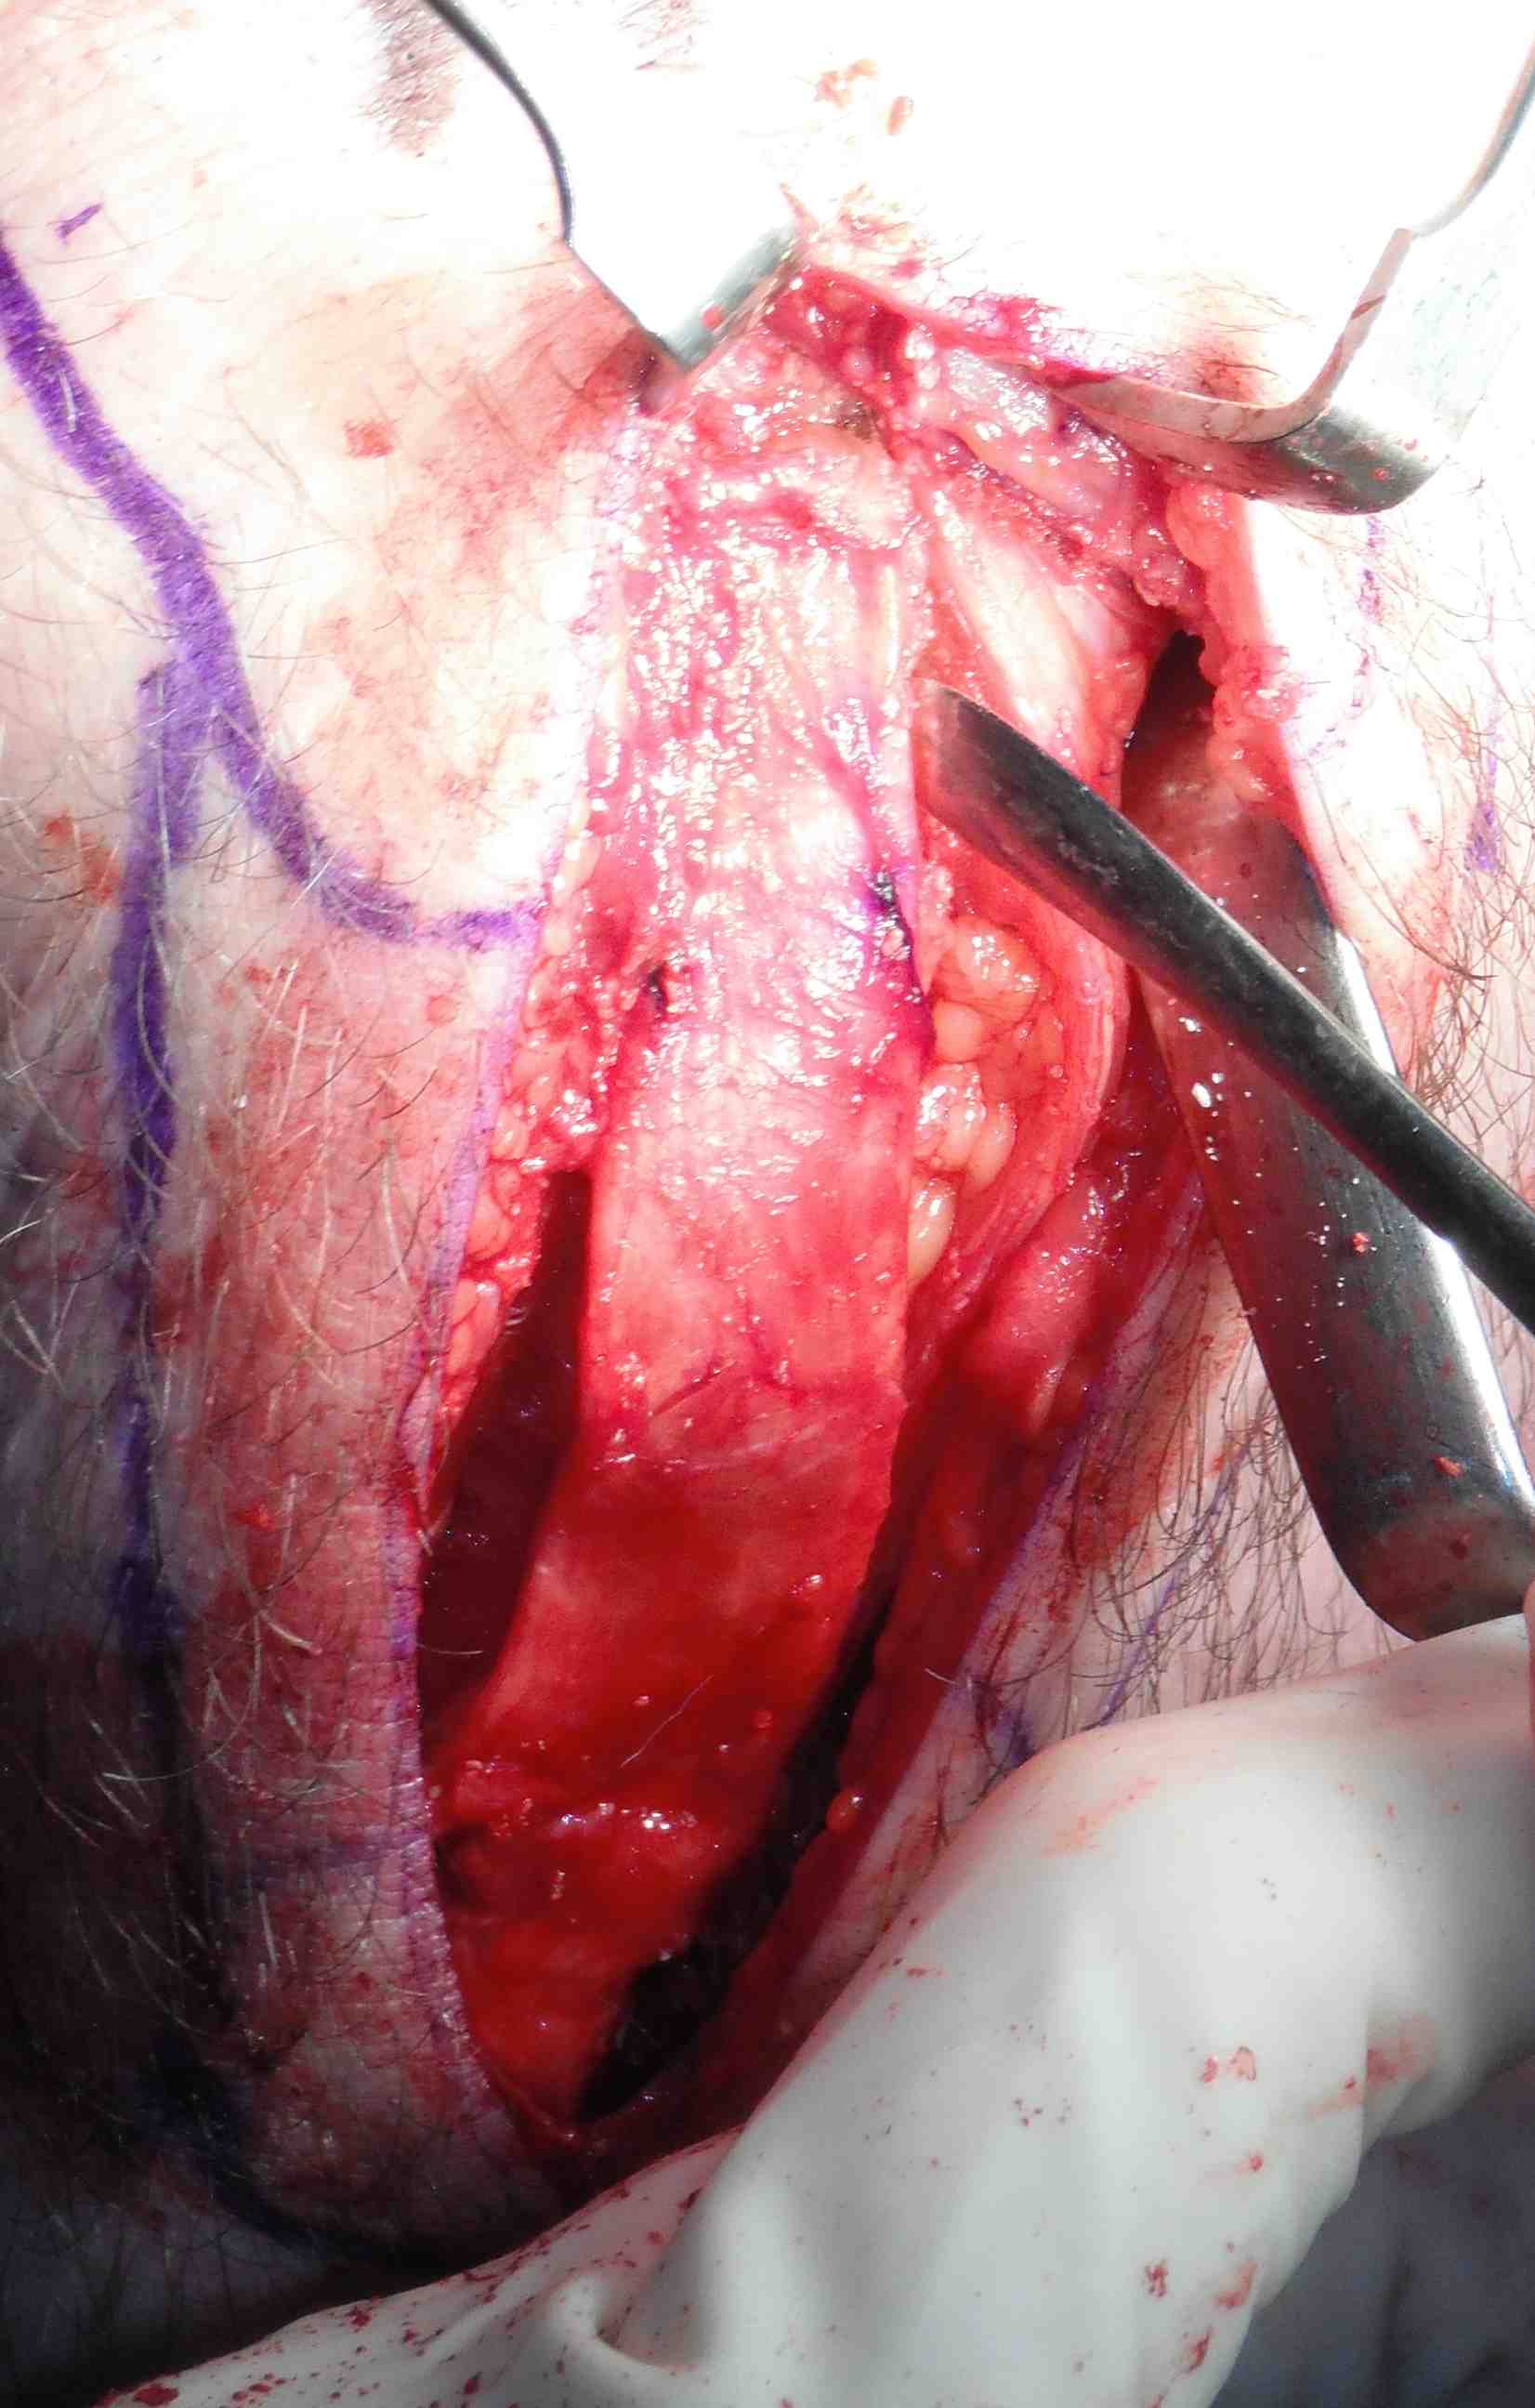
Repeat on patella side, can push patella down for exposure
- use smaller lever on patella side and be more delicate
- remove graft carefully, have to dissect off the fat pad
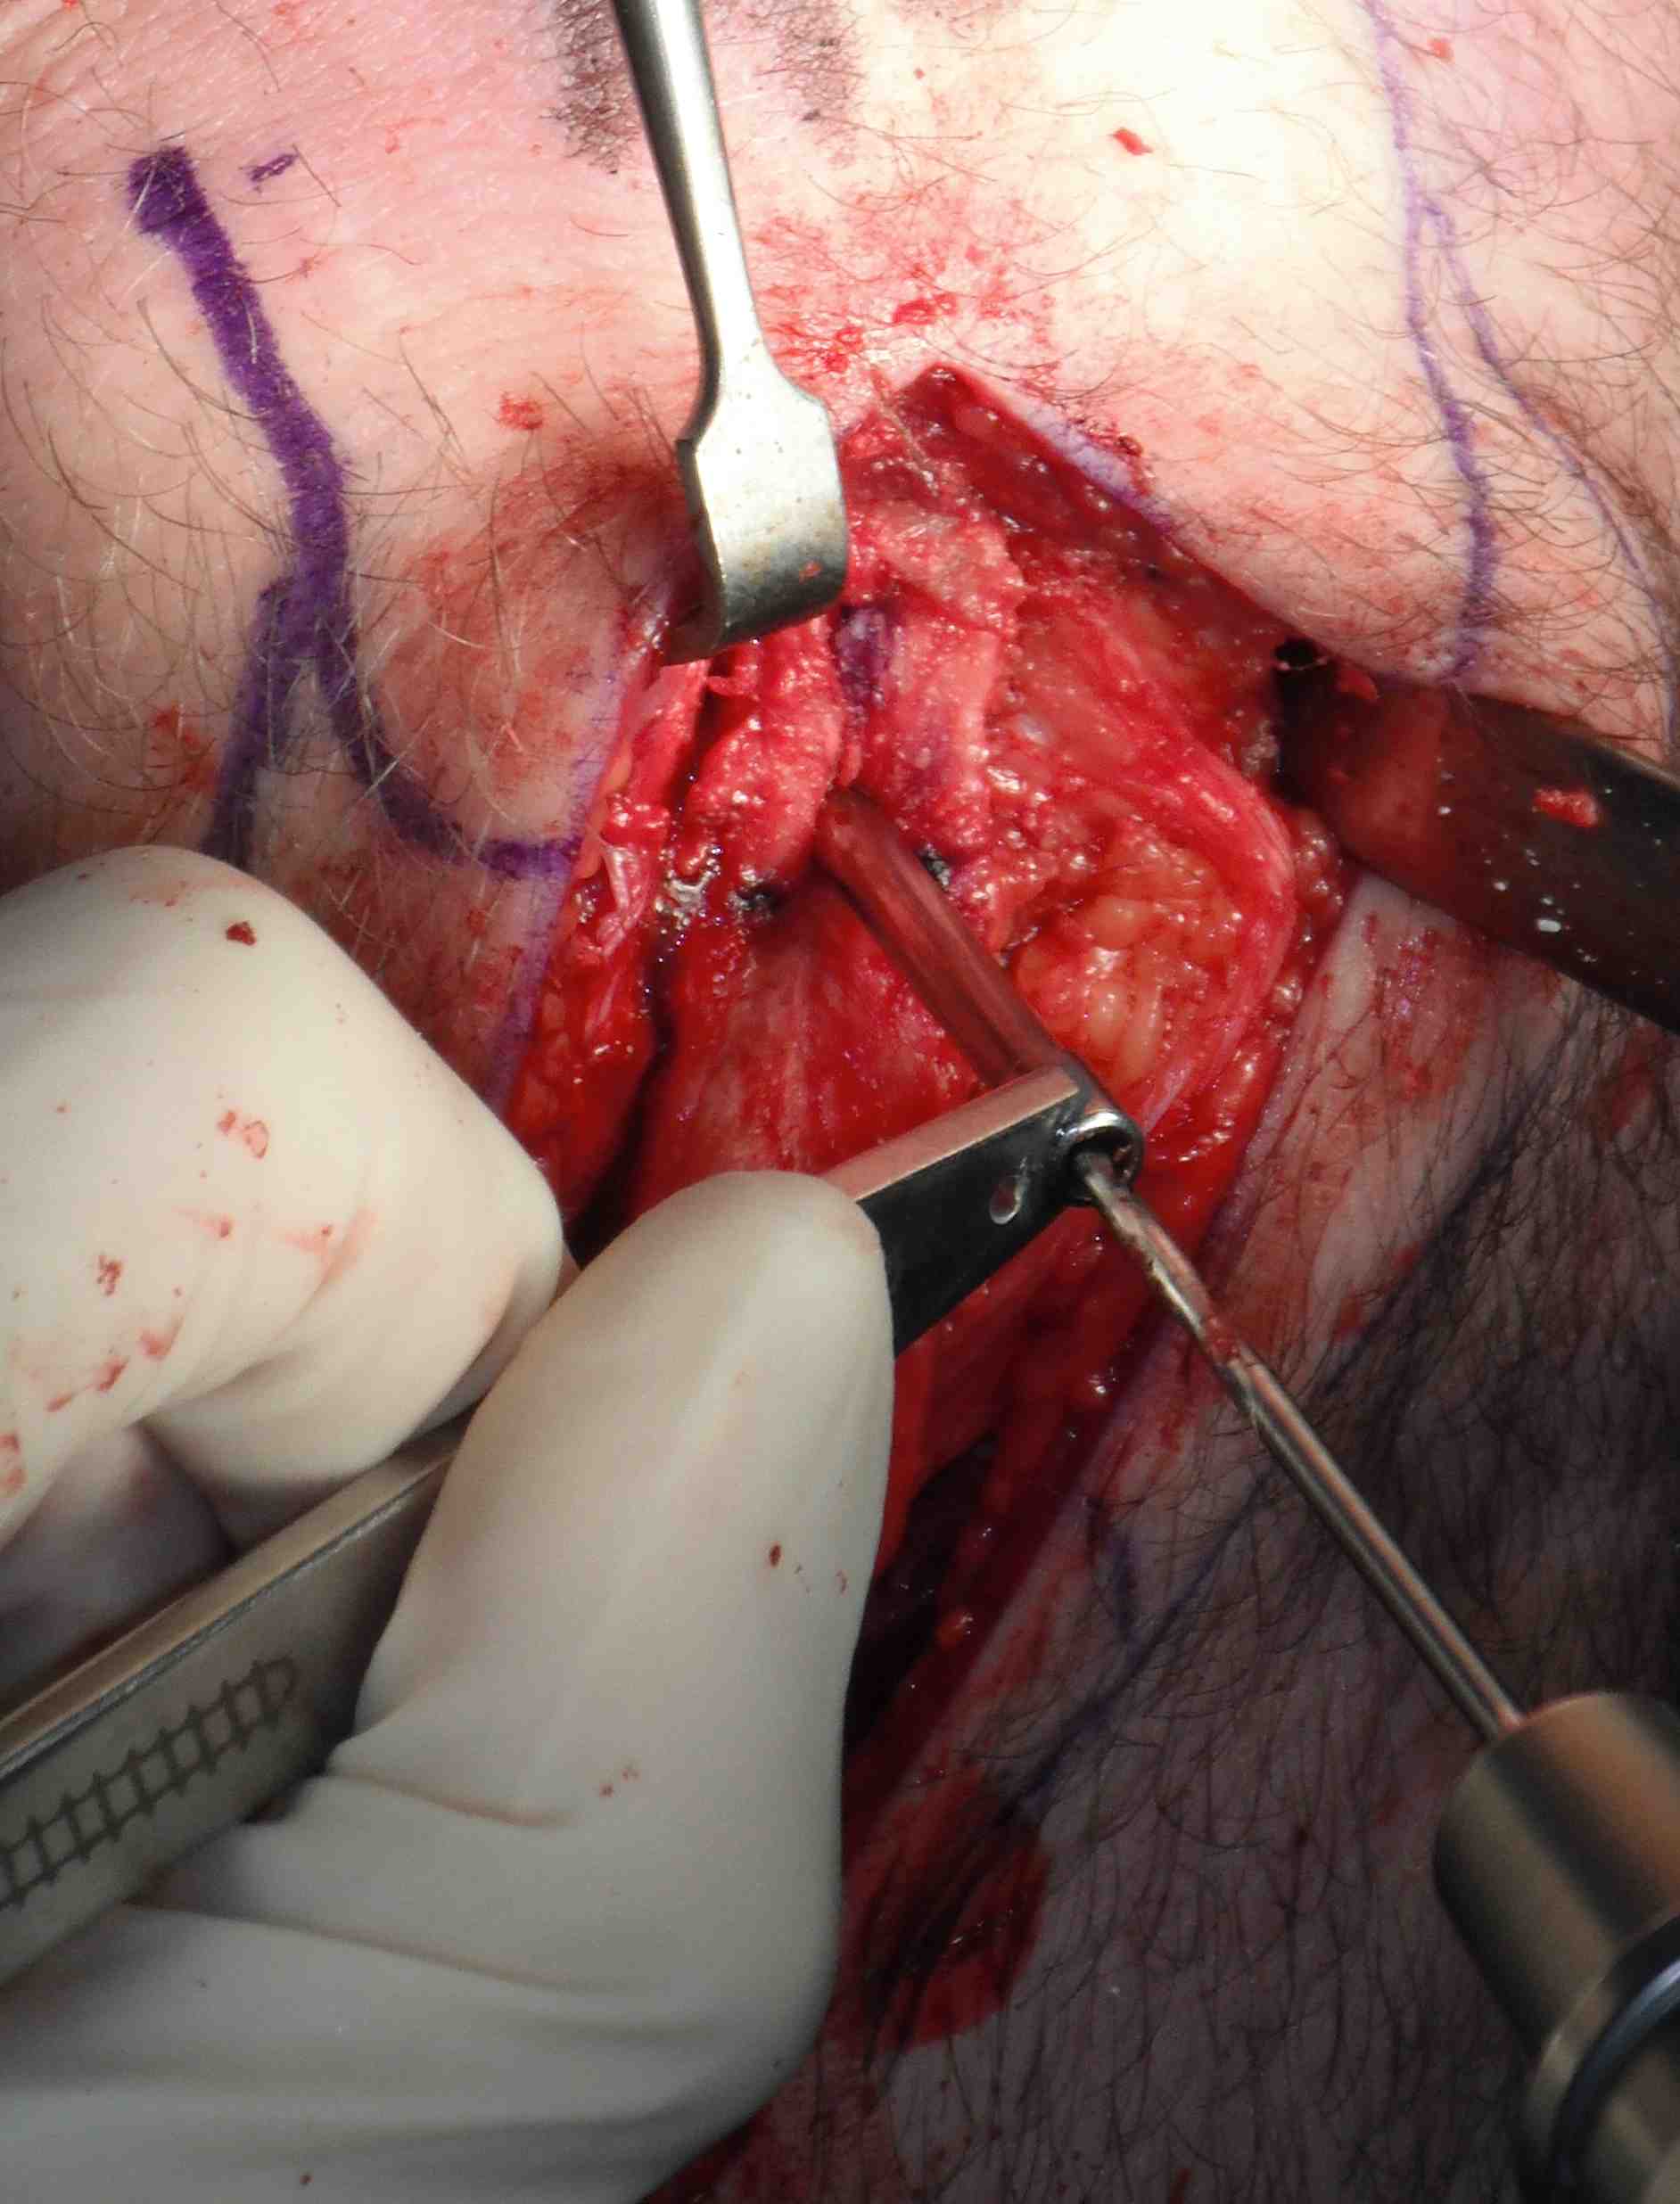
Graft preparation
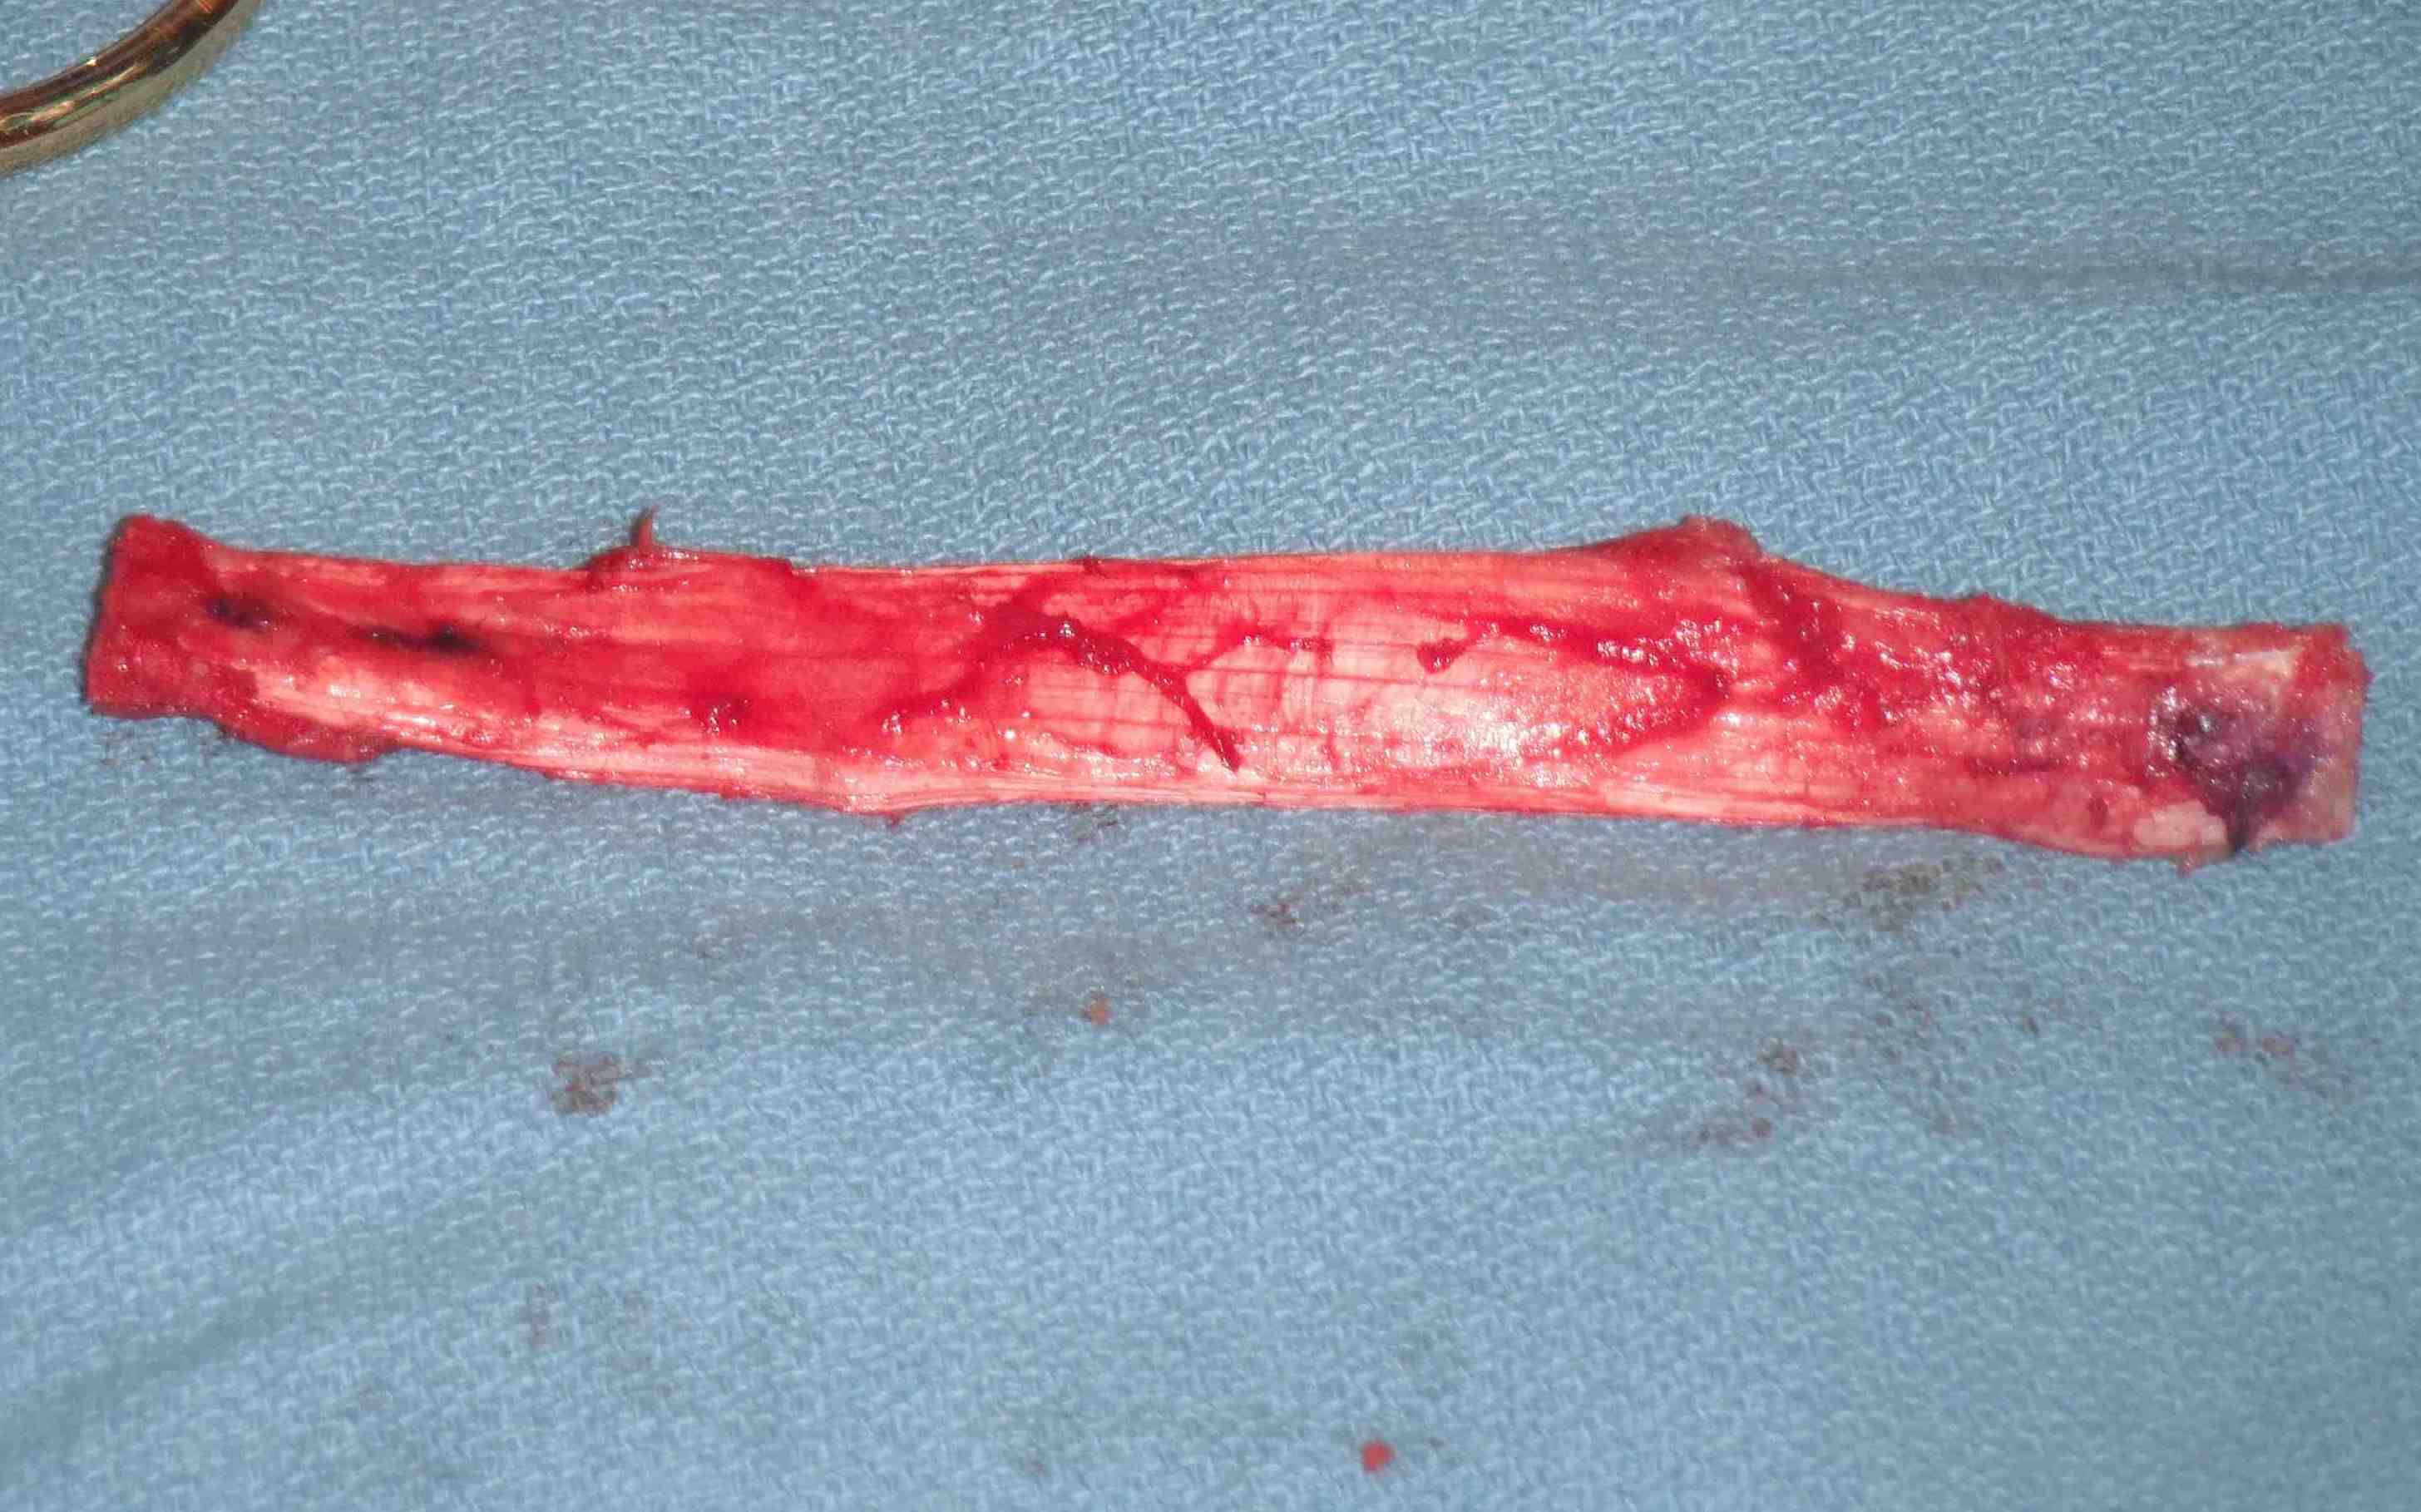
Clean tendon of soft tissue
- decide which end will pass into femur
- usually the smaller piece
- nibble any sharp edges off especially on leading edge
- ensure whole graft will pass through 10 mm tube
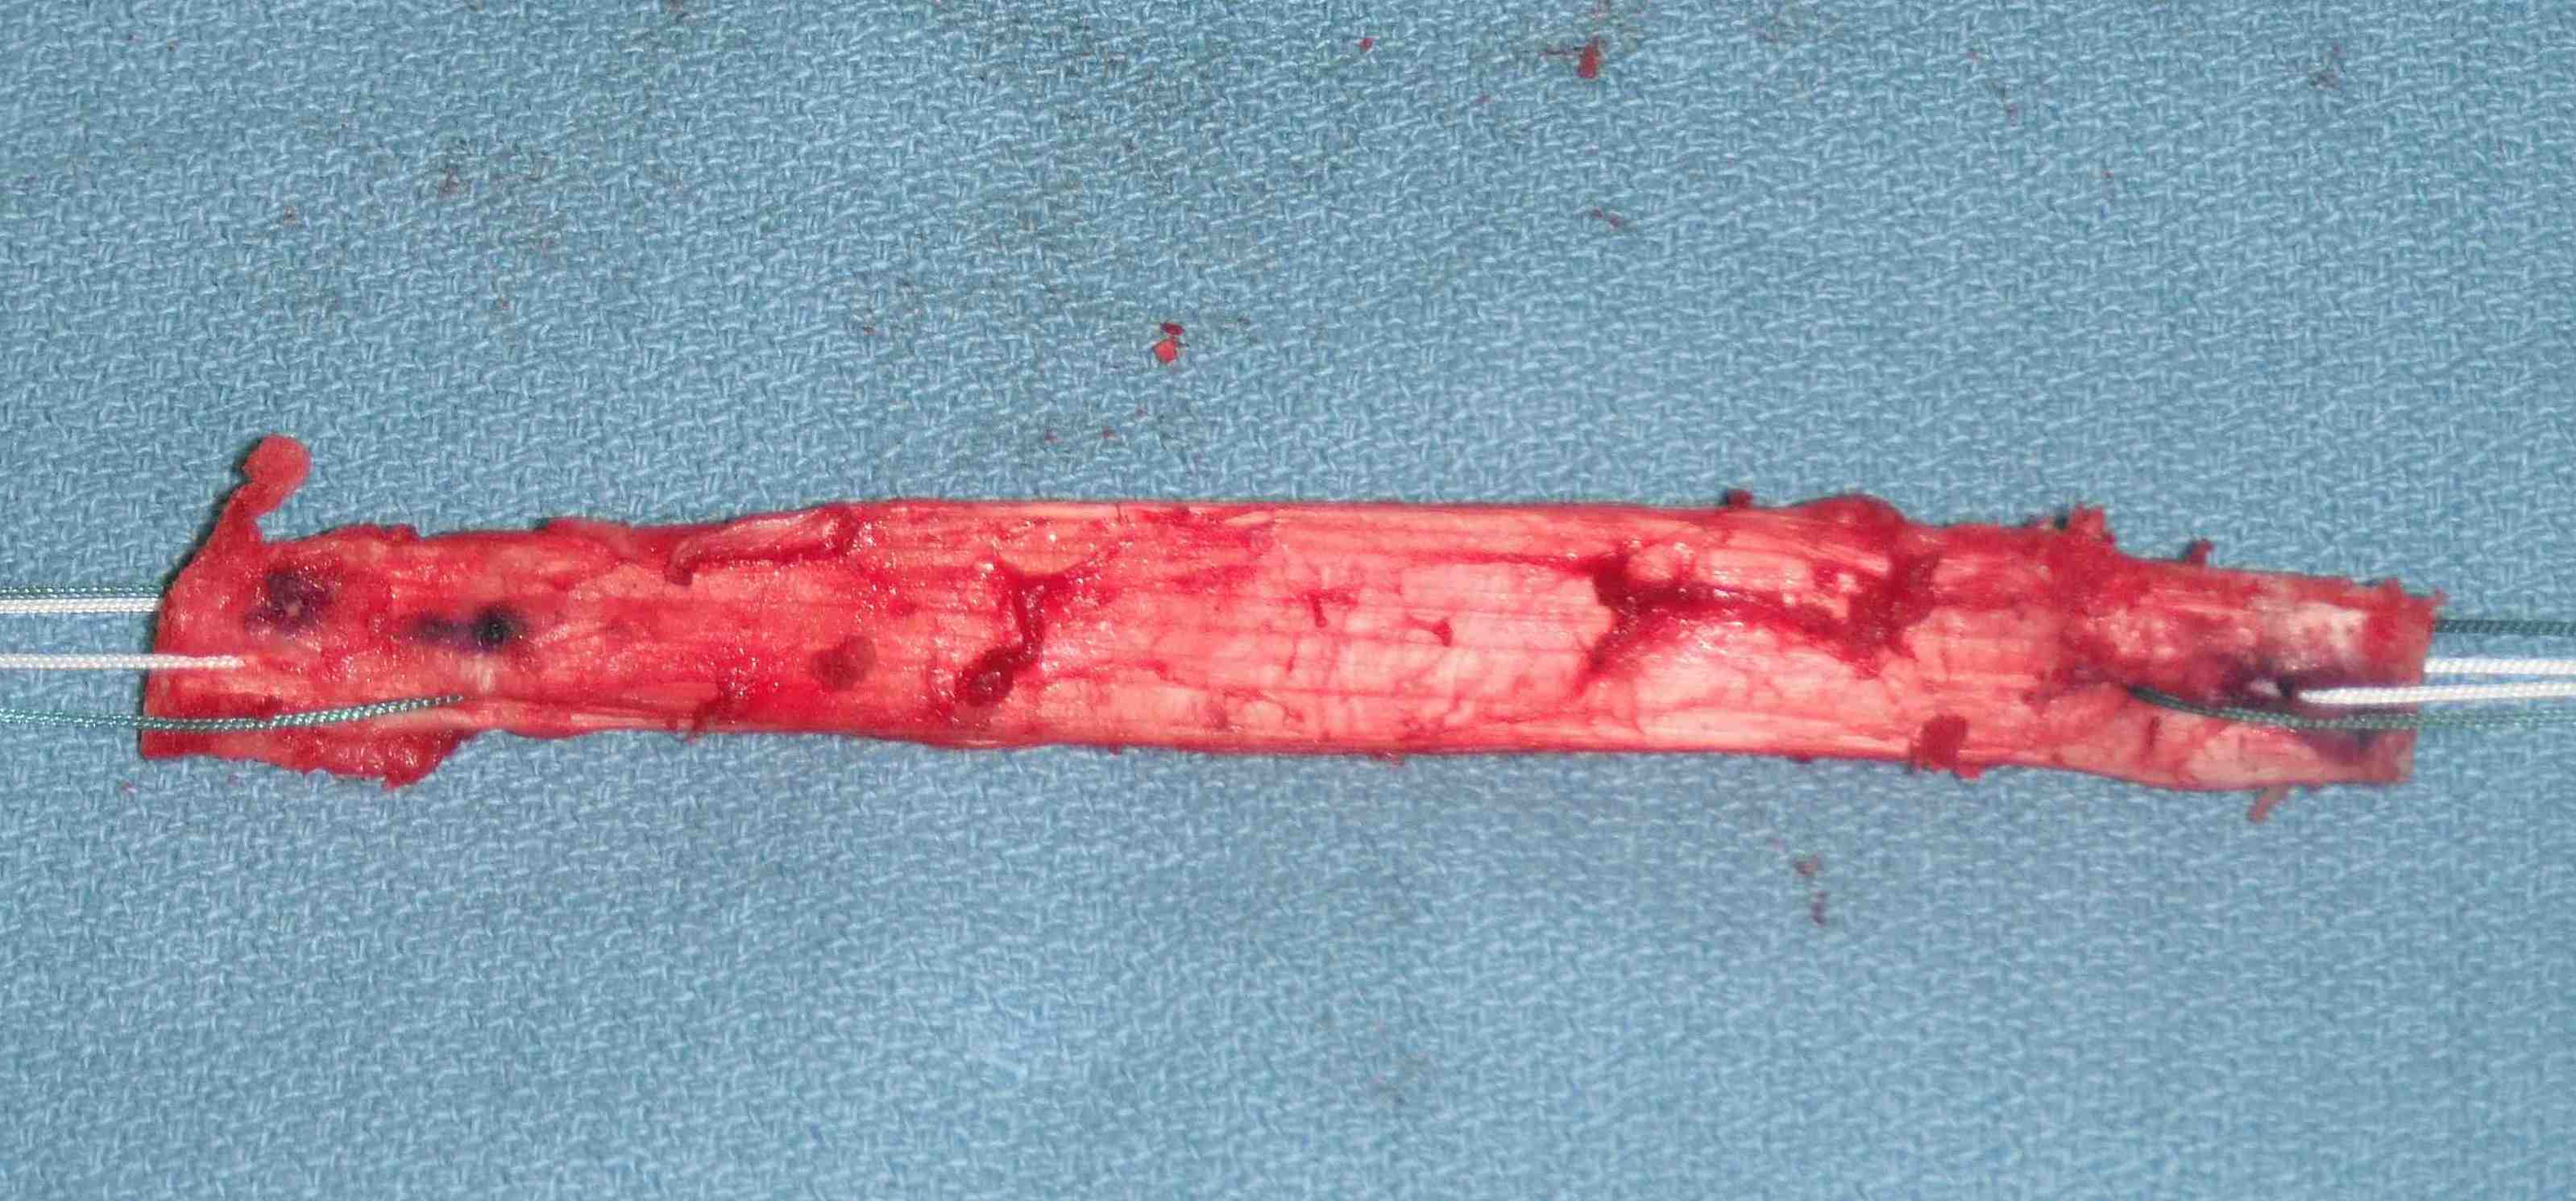
- decide which end will be tibial or femoral
- mark femoral end with blue pen
- put 2 x 1 non absorbable sutures through drill holes
- probably don't need to tension BPTB
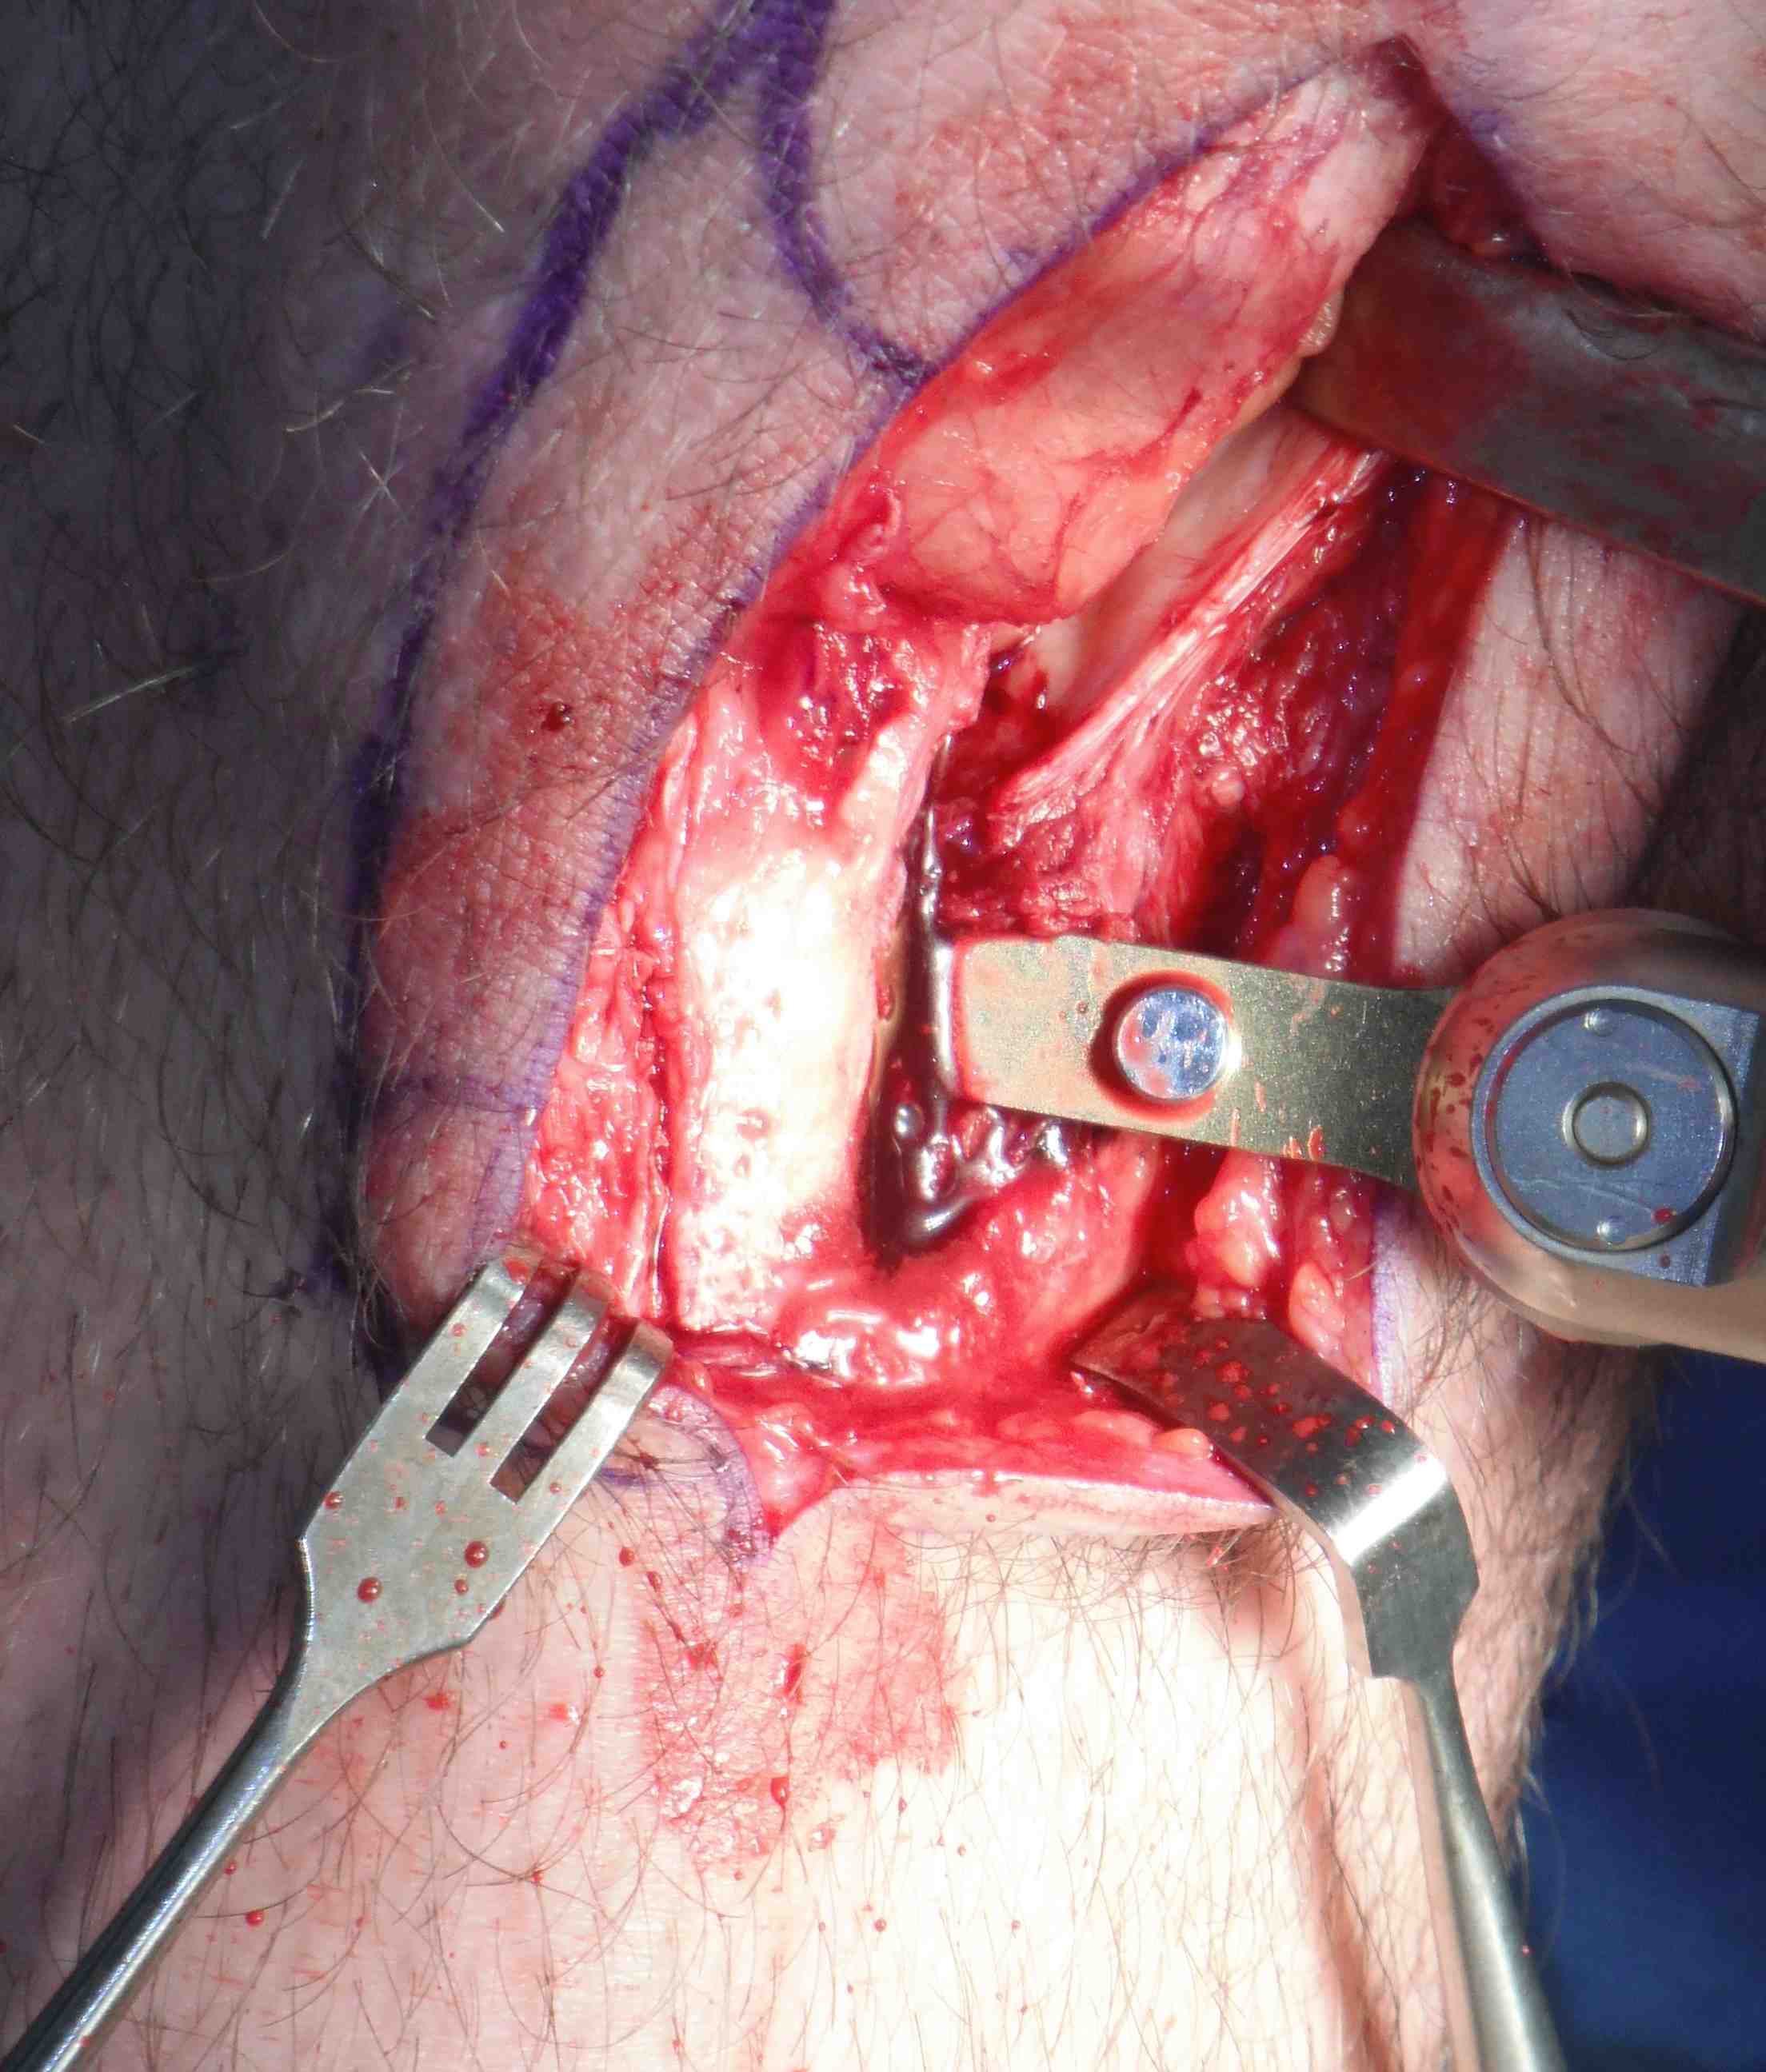
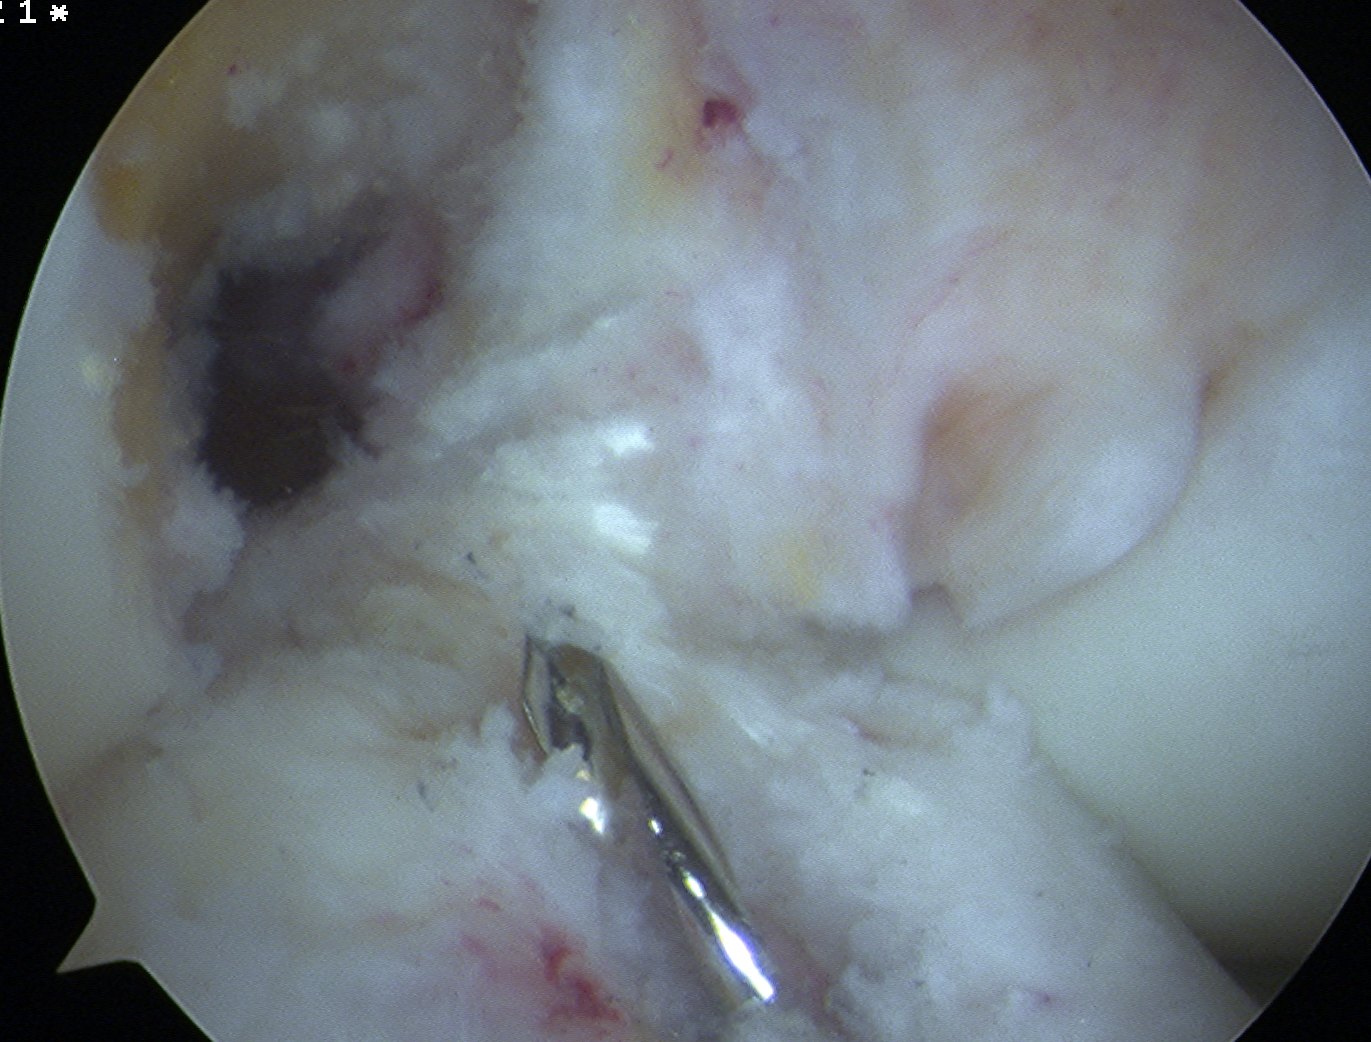
Knee arthroscopy
Medial portal
- soft spot
- make larger as need to insert 7 mm screw through here
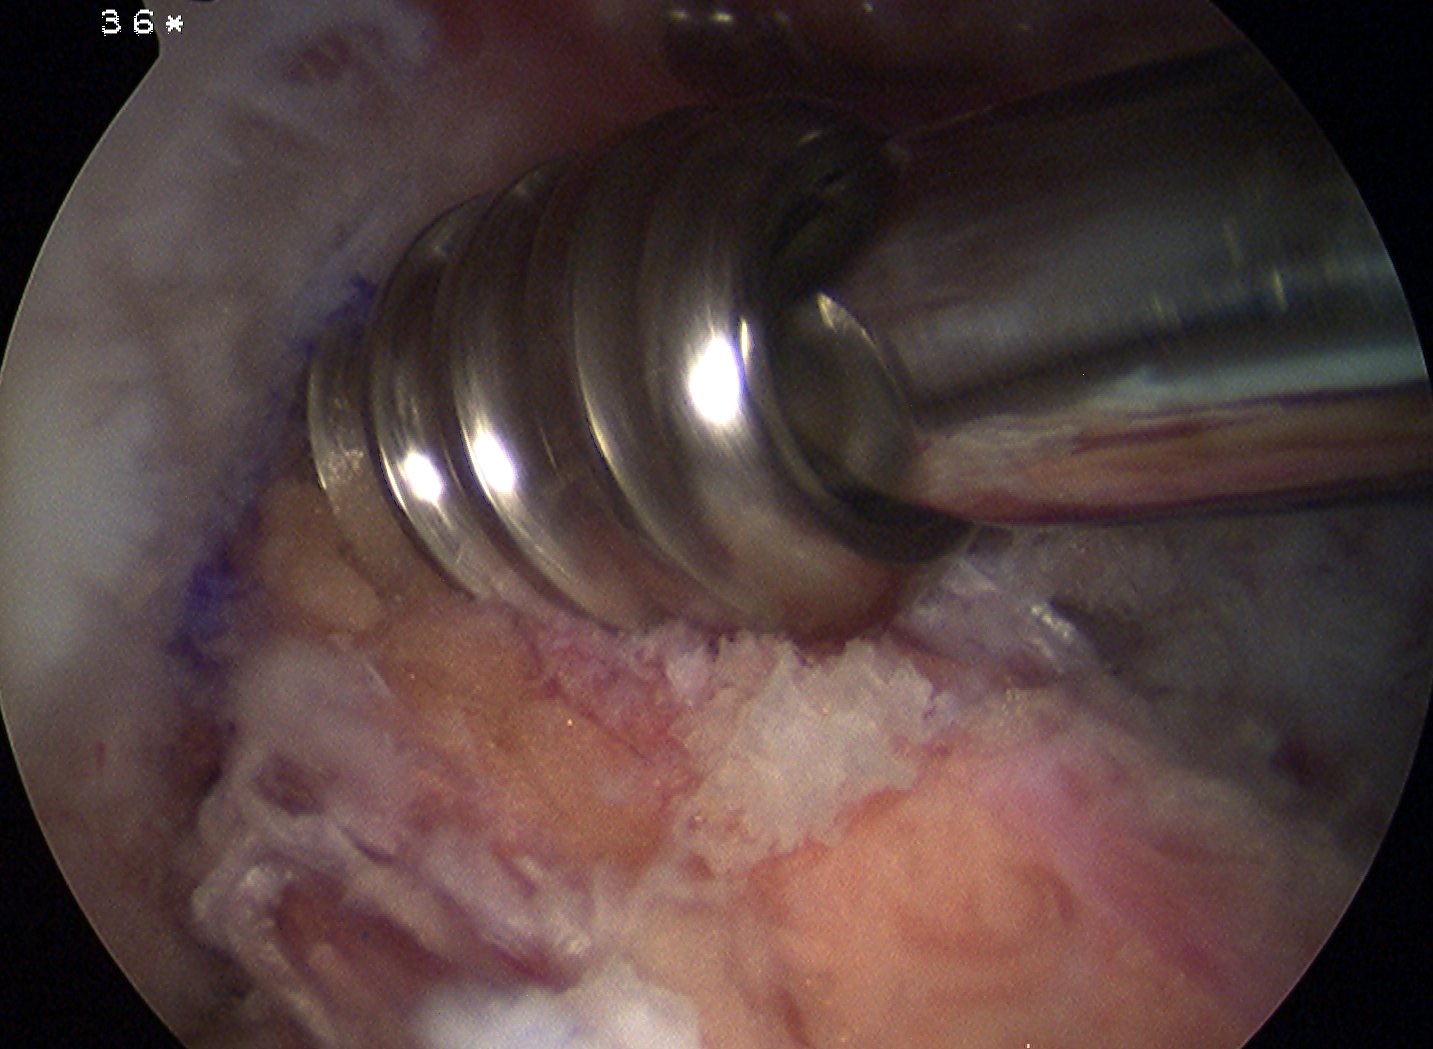
- clean thoroughly with shaver
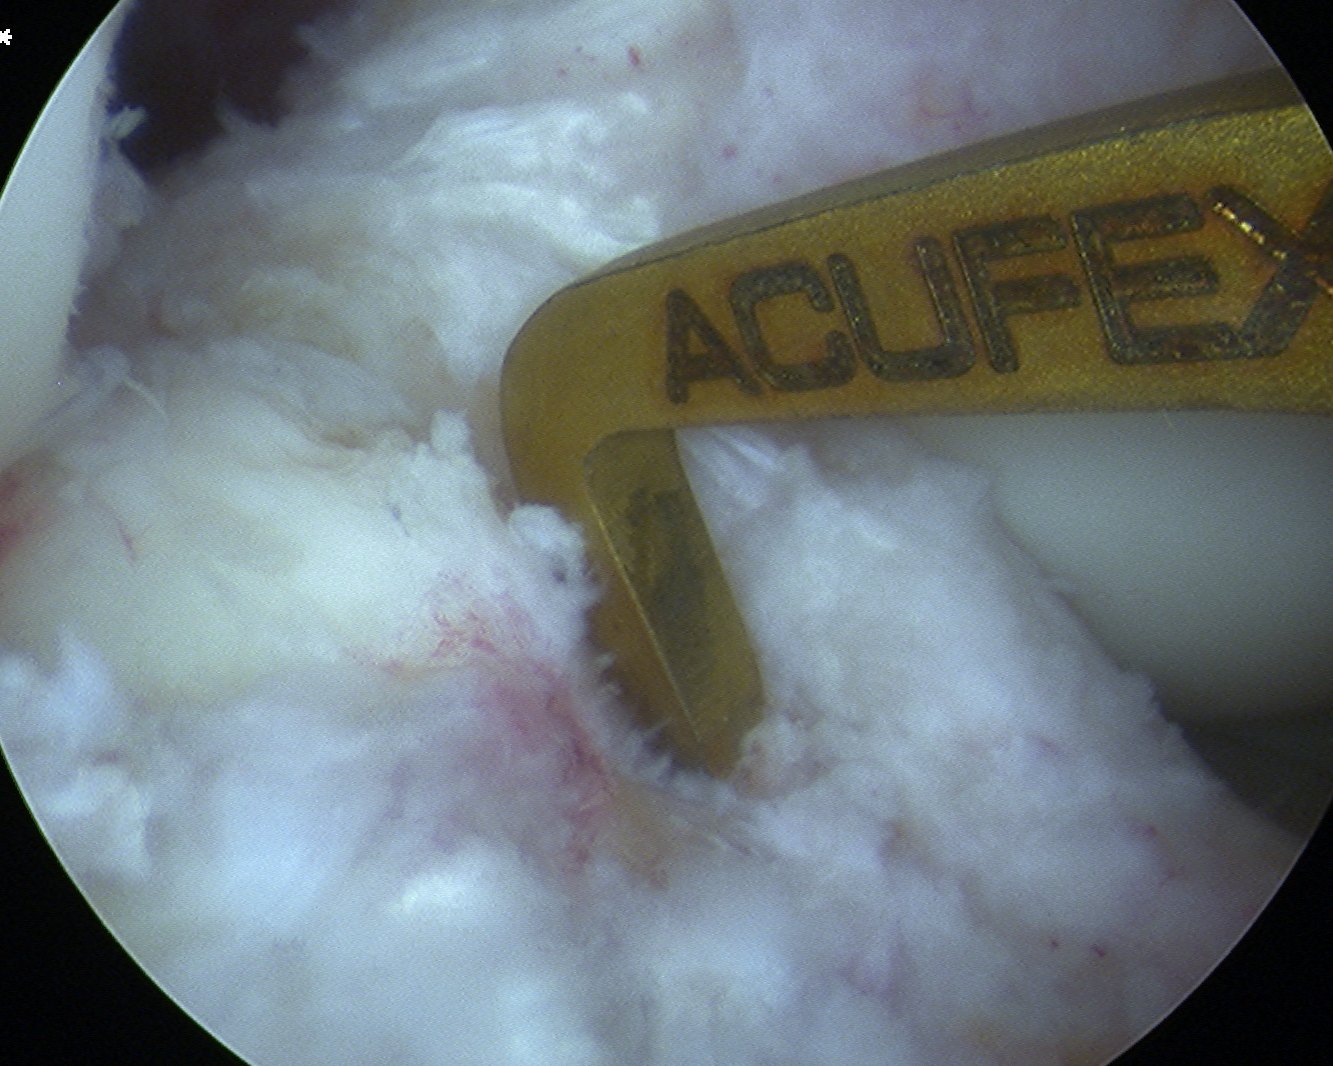
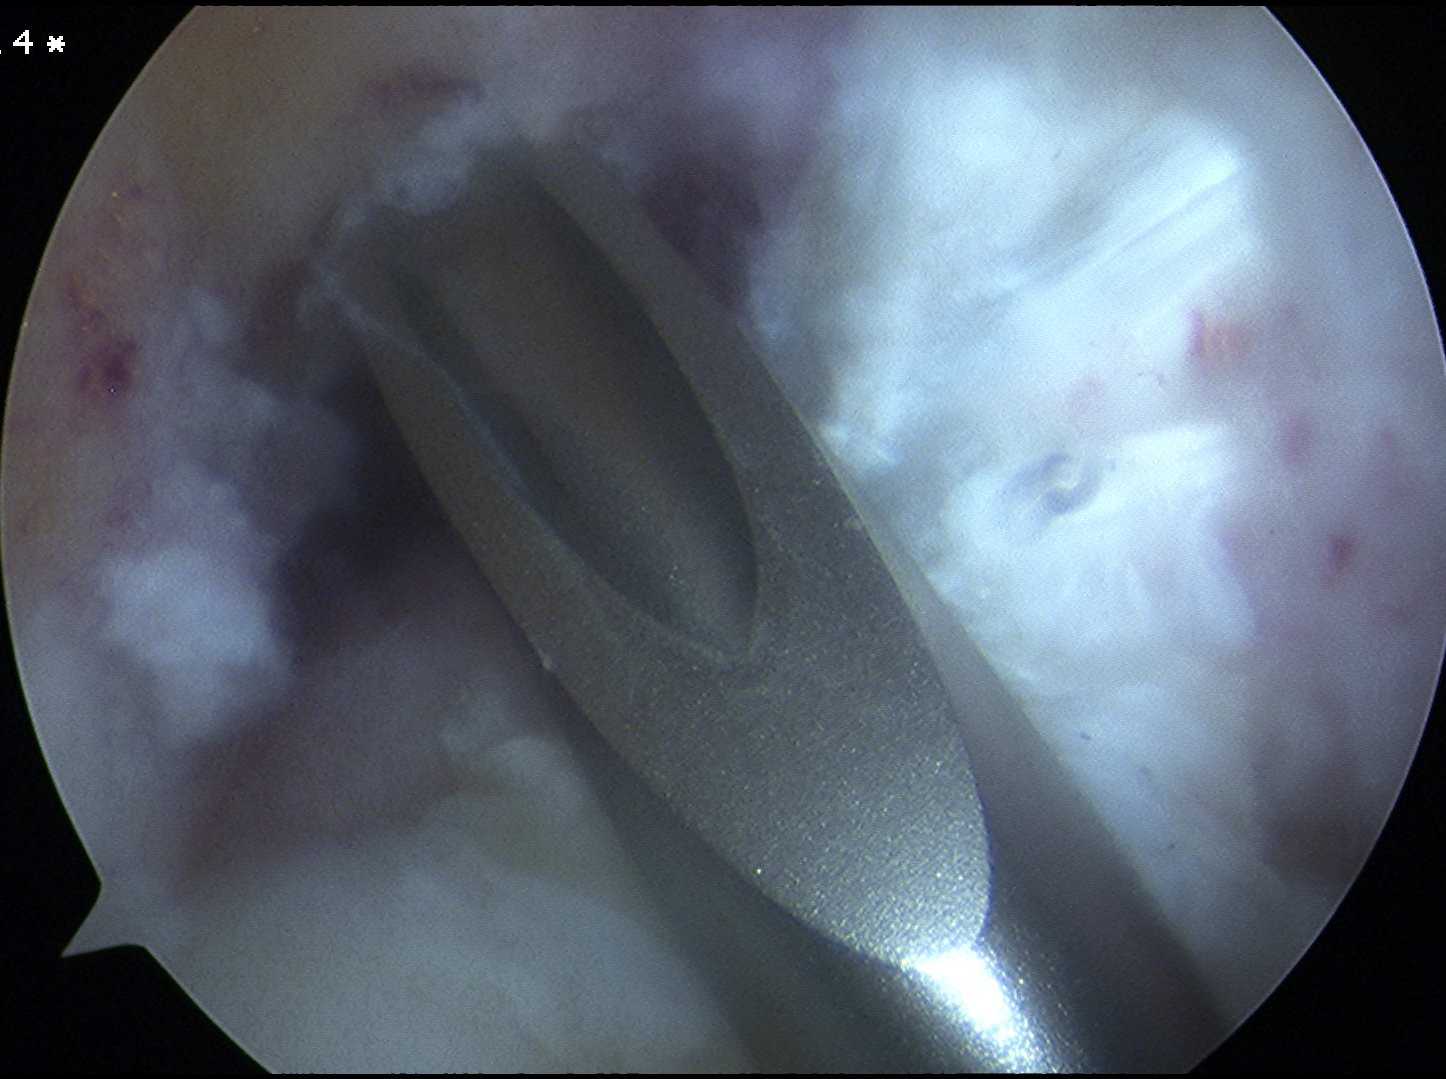
Prepare LFC
- notchplasty often required
- graft is significantly larger than HS
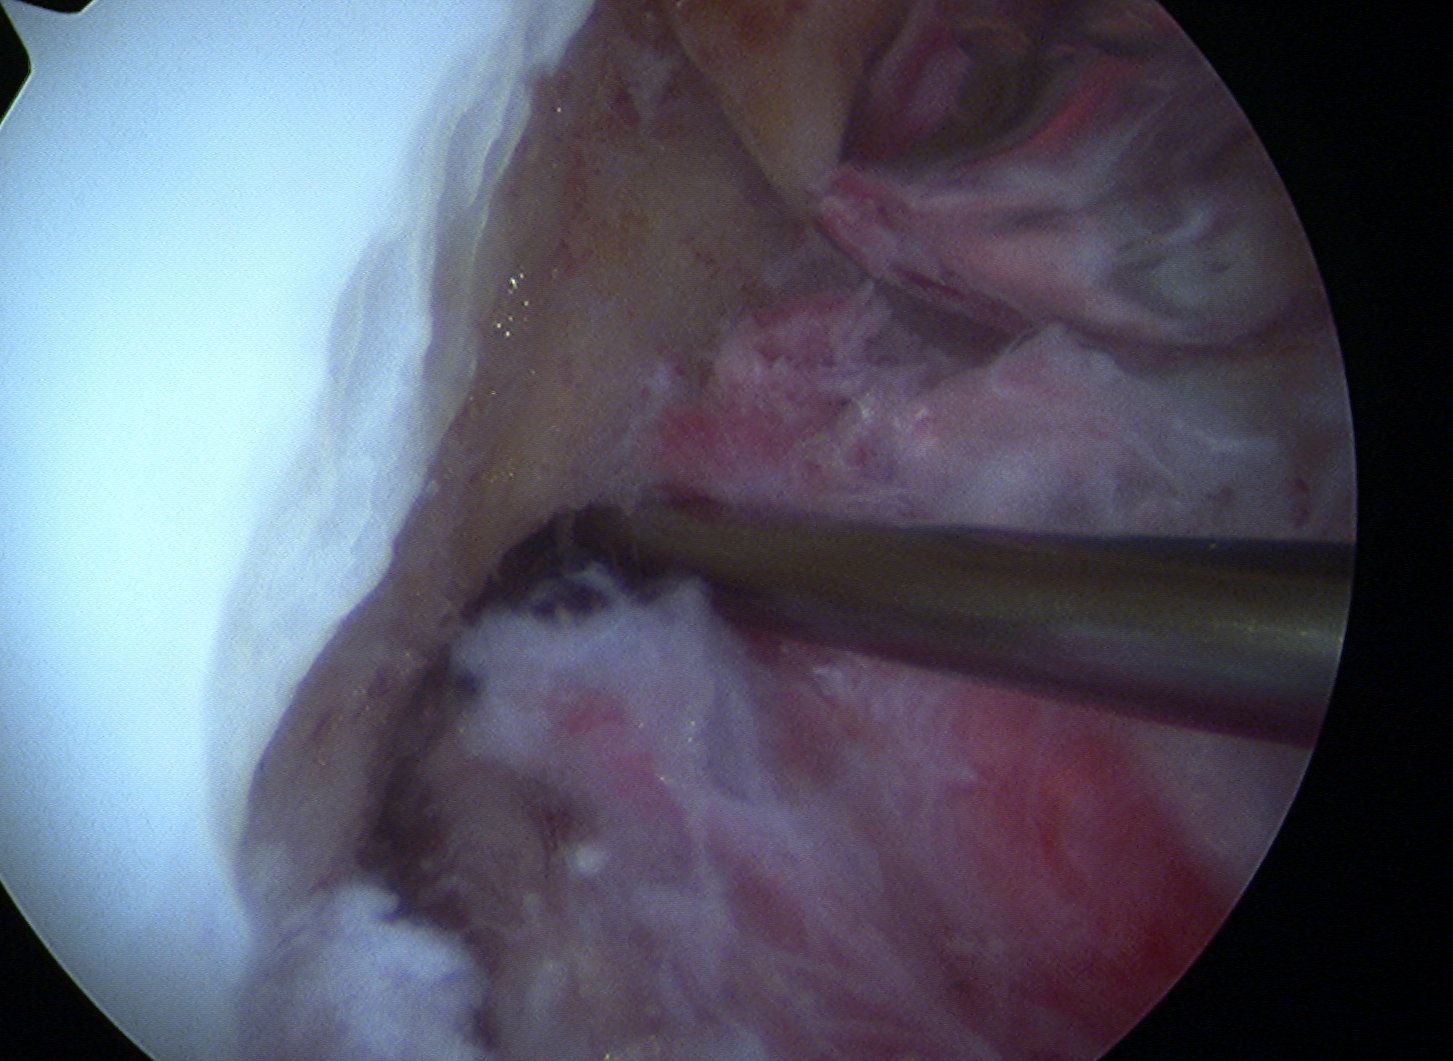
Tunnels
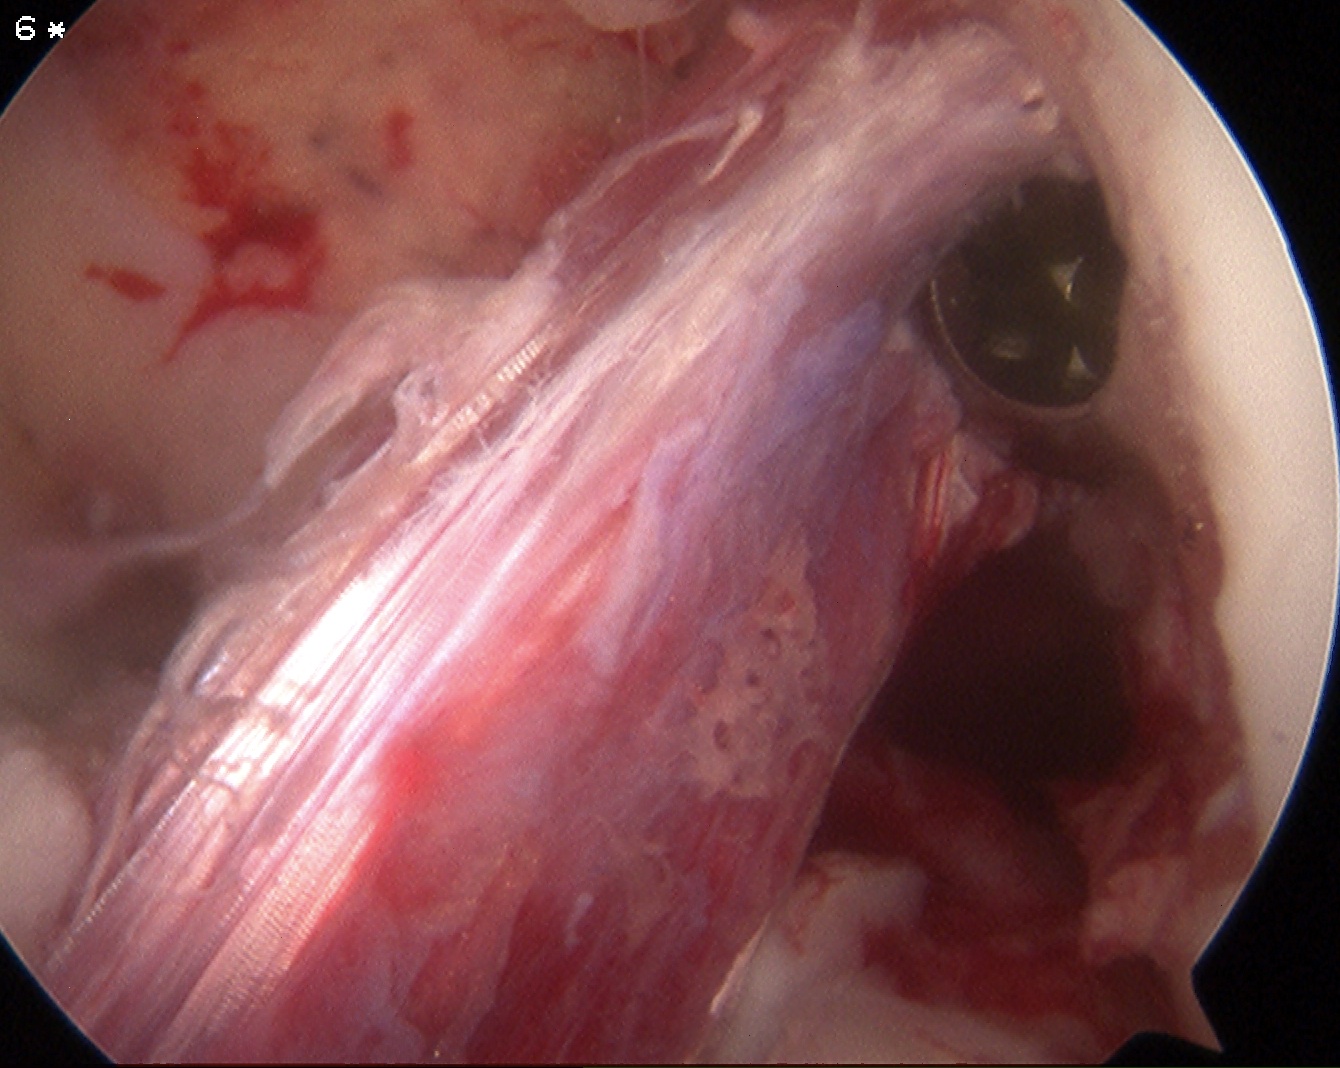
Tibial tunnel
- tibial jig / beath pin / 10 mm reamer
- need to ensure sufficient distance anterior to PCL
- use shaver to clean tunnel, especially entrance
Transtibial femoral tunnel
- need to use 7 mm offset jig to prevent posterior wall blowout
- pass femoral beath pin at 90o
- drill femoral tunnel 10 mm wide
- 5mm deeper than bone graft length
- if bone plug 20 mm long, drill 25 mm
- if bone plug 25 mm long, drill 30 mm
- need to thoroughly clean tunnel of bone debris
- can help to pass acorn reamer twice


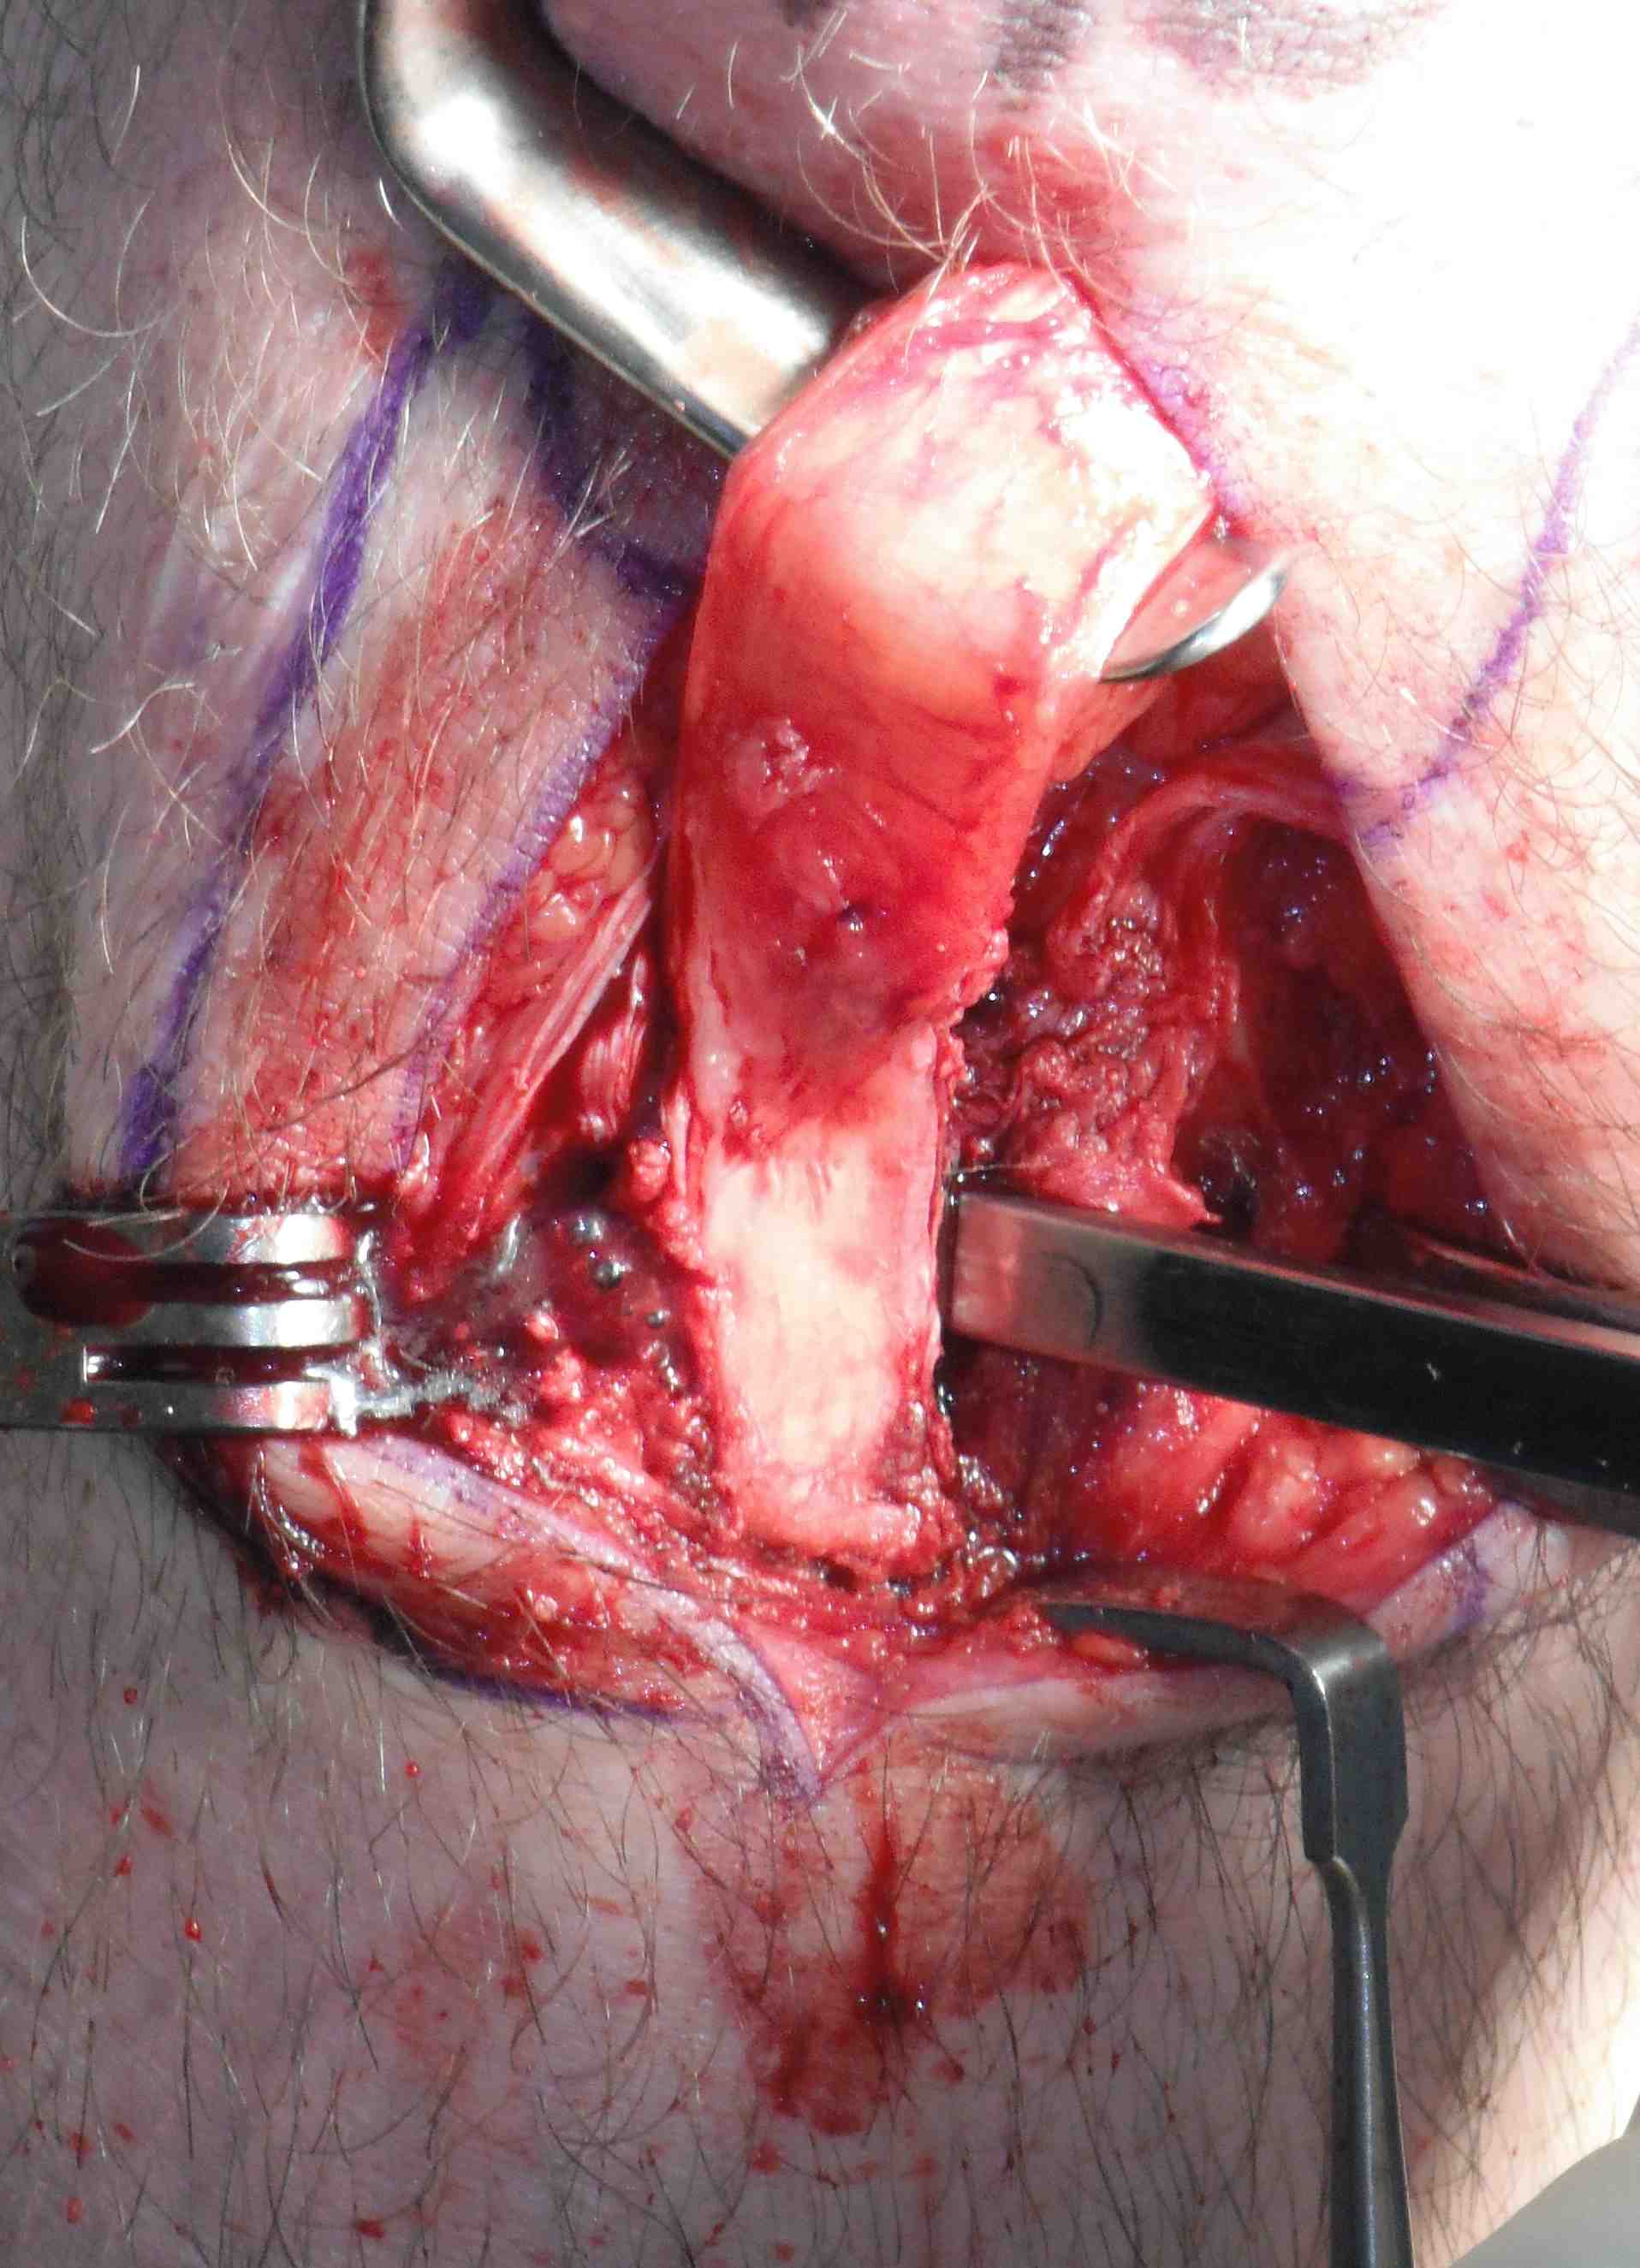
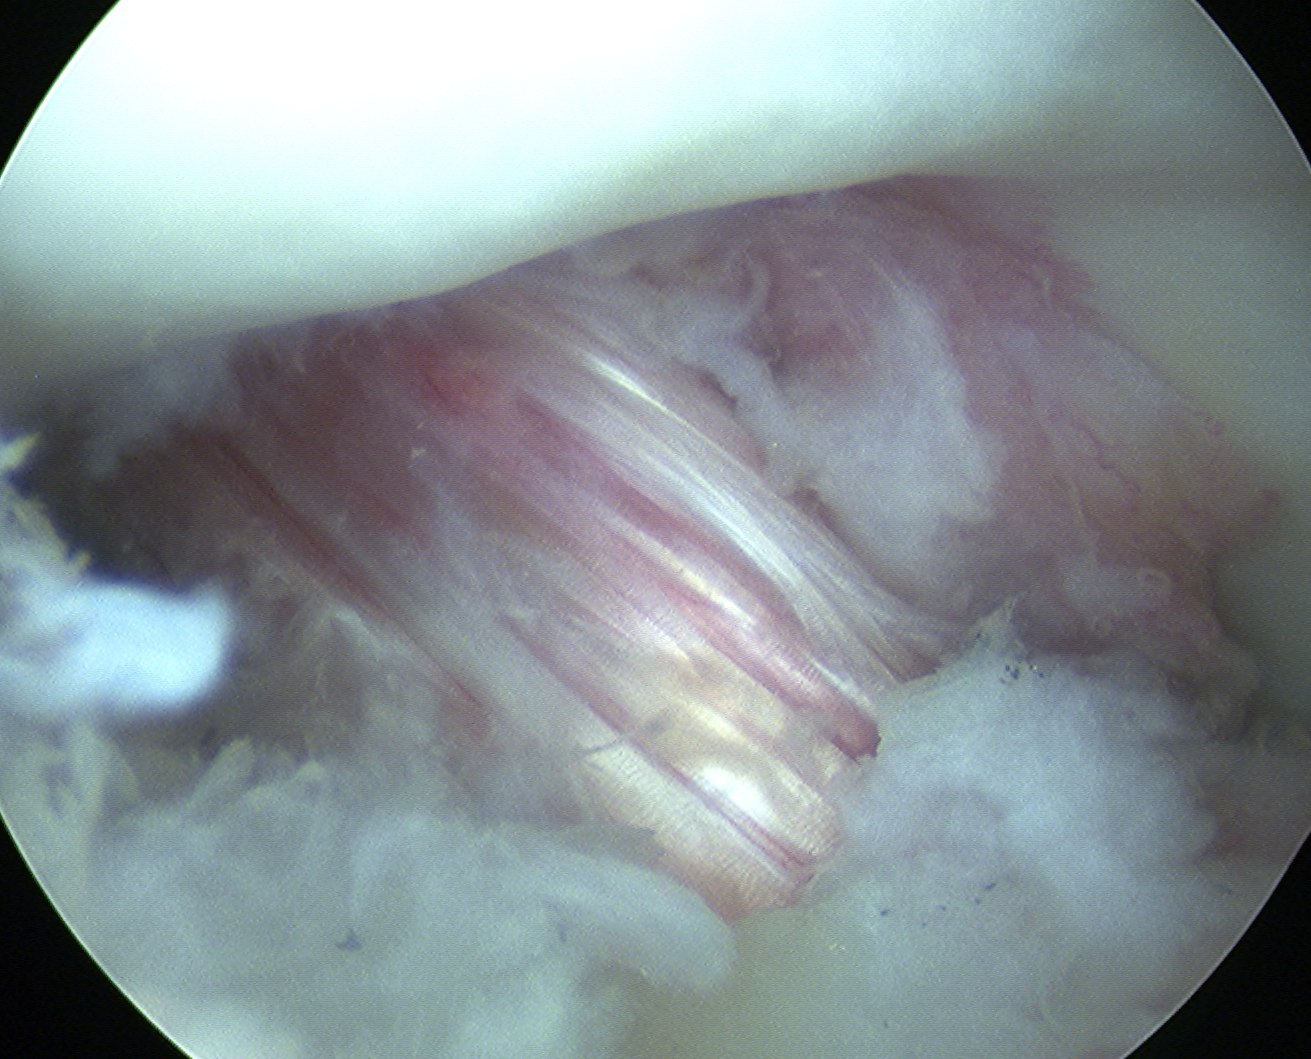
Graft
Pass loop 1 PDS though tip of beath pin
- pull 4 sutures of lead bone plug through
- advance the beath pin out of the femur
- secure sutures
Pass graft
- ensure bone plug passes easily into tibial tunnel
- pull up gently on sutures and advance the bone plug into knee
- use grasper to align the bone plug with the femoral tunnel
- then pull on sutures and advance the plug into the tennel
- pull femoral bone plug deep into tunnel and tension
Screw Fixation
Femoral screw
- need to be careful ans can blowout back wall or create divergent screw
- hyperflex knee +++
- this step is very important to prevent divergent screw
- expose femoral tunnel with good vision
- pass screw guide wire anterior to bone graft so as not to blow out tunnel
- insert 7 x 25 mm screw ensuring that the screw threads engage the tunnel
Trial
- check no impingement
- tension tibial side at 30o
- insert 9 x 25 mm screw
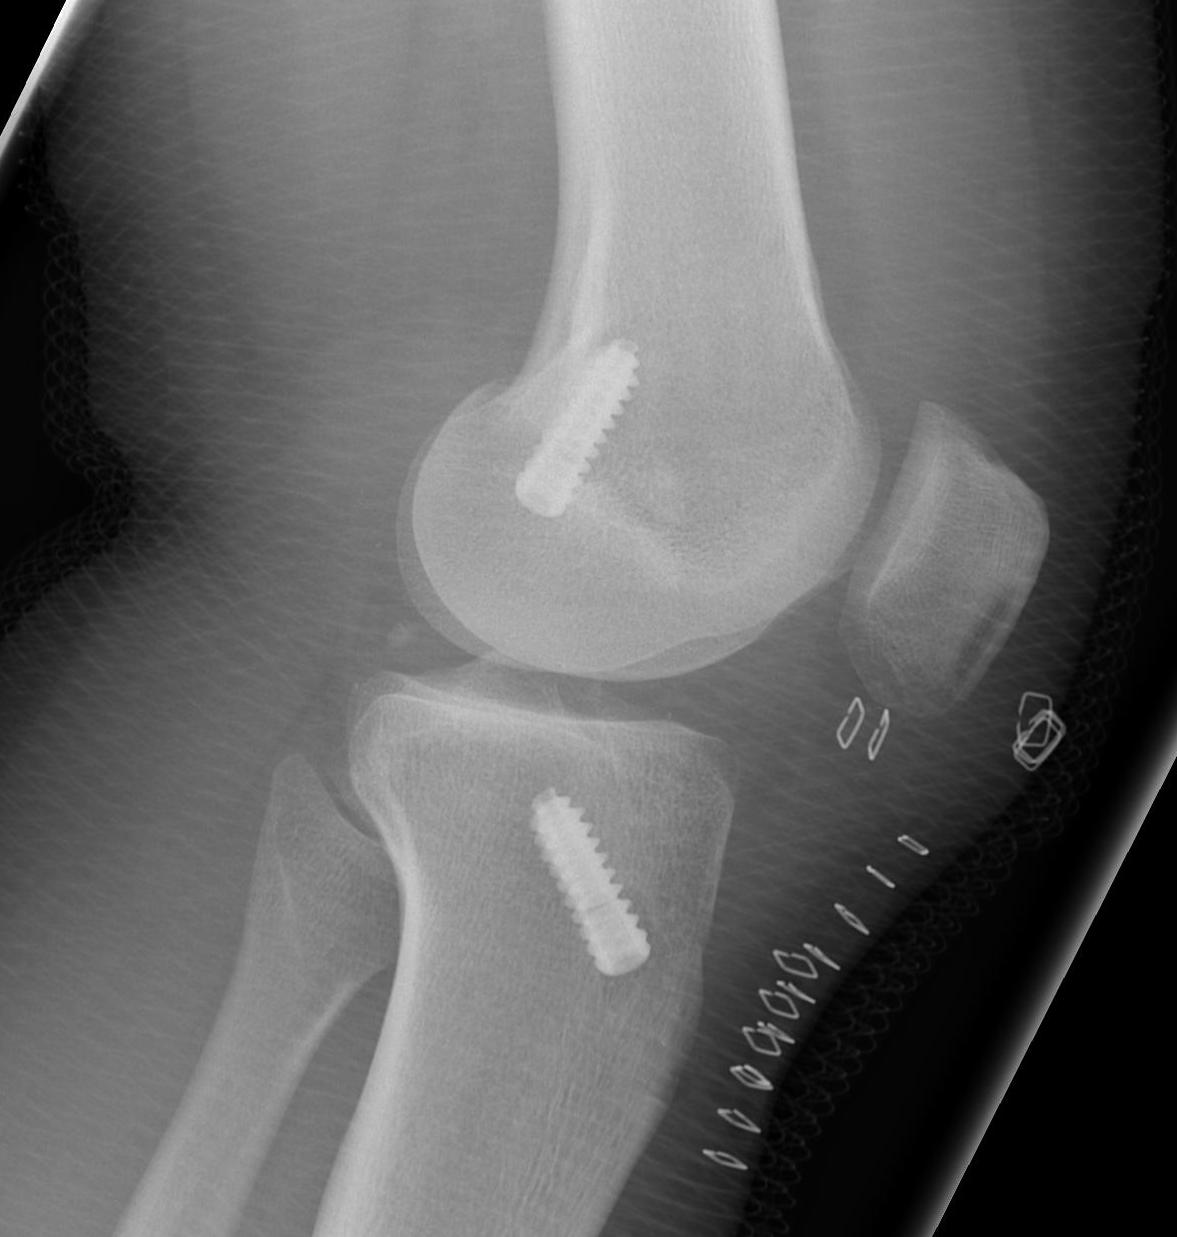
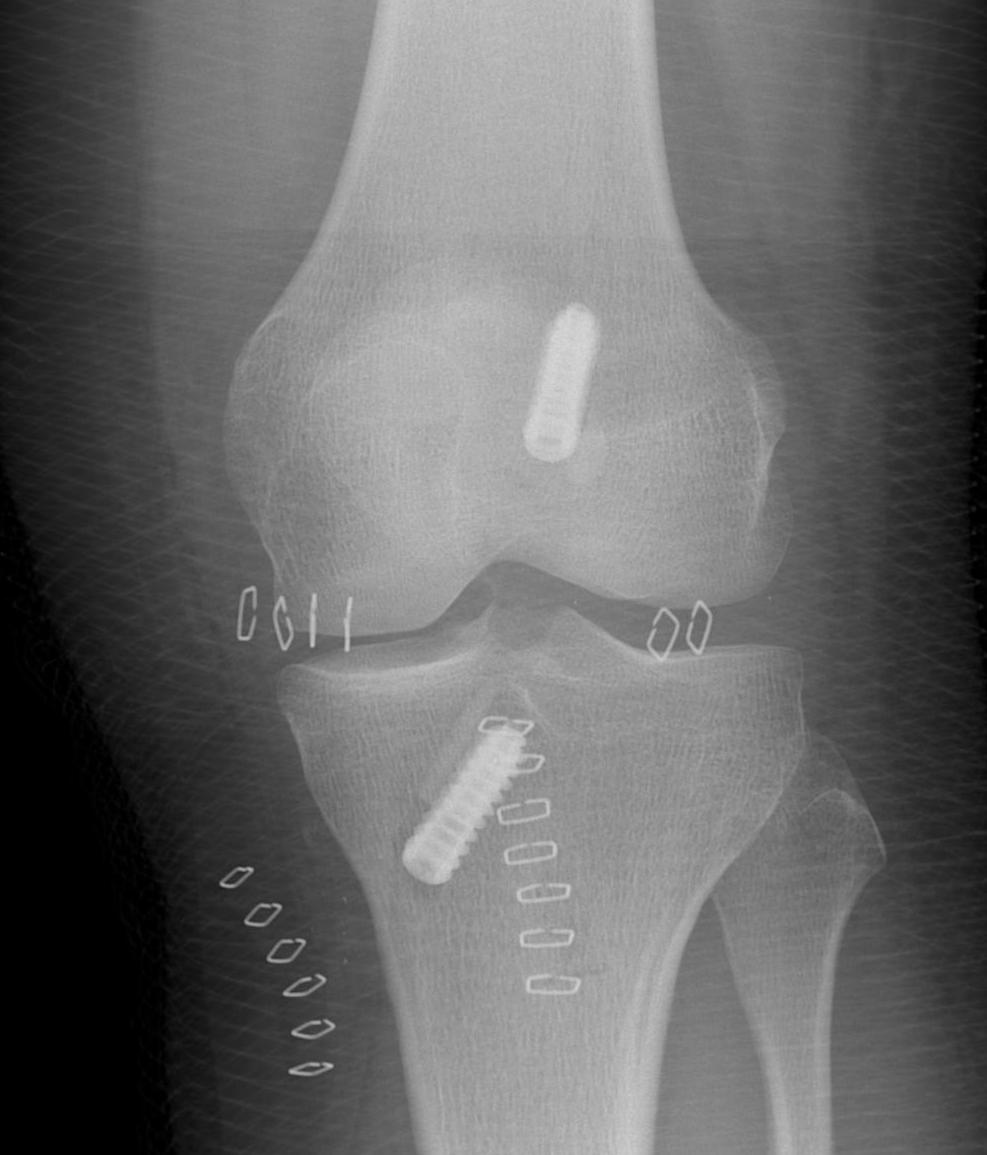
Post Op xrays